


Surface Preparation
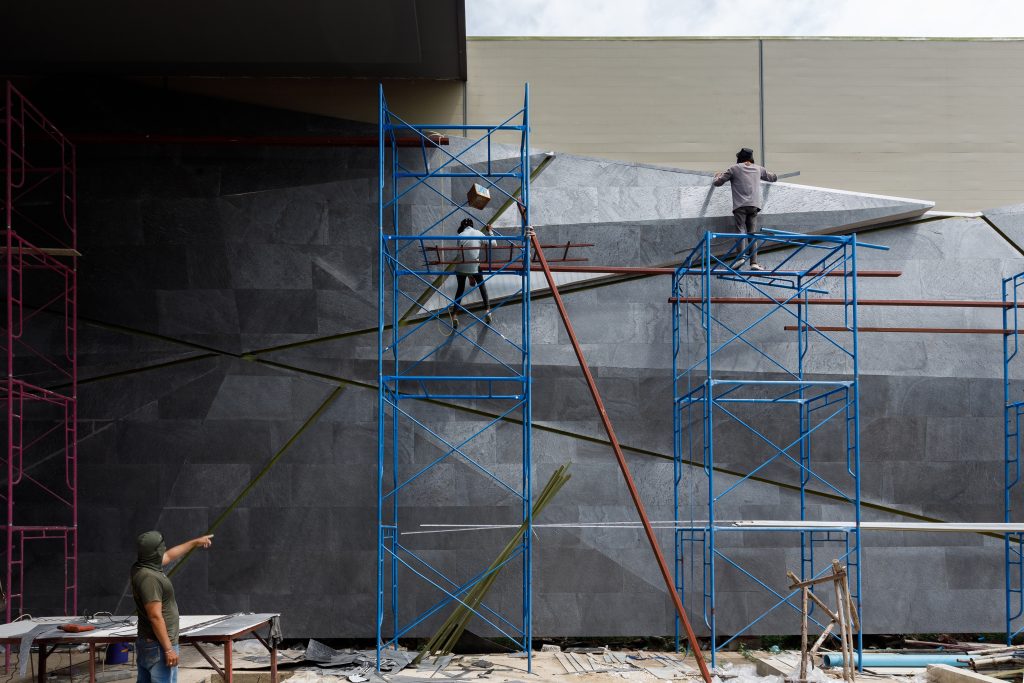
Surface preparation is the first and most critical step in ensuring a strong and durable installation. Stonesurface can be installed on a variety of substrates, including cement-plastered walls, fiber cement boards, and plywood. Each substrate must be thoroughly inspected and properly prepared to ensure it is suitable for installation before work begins.
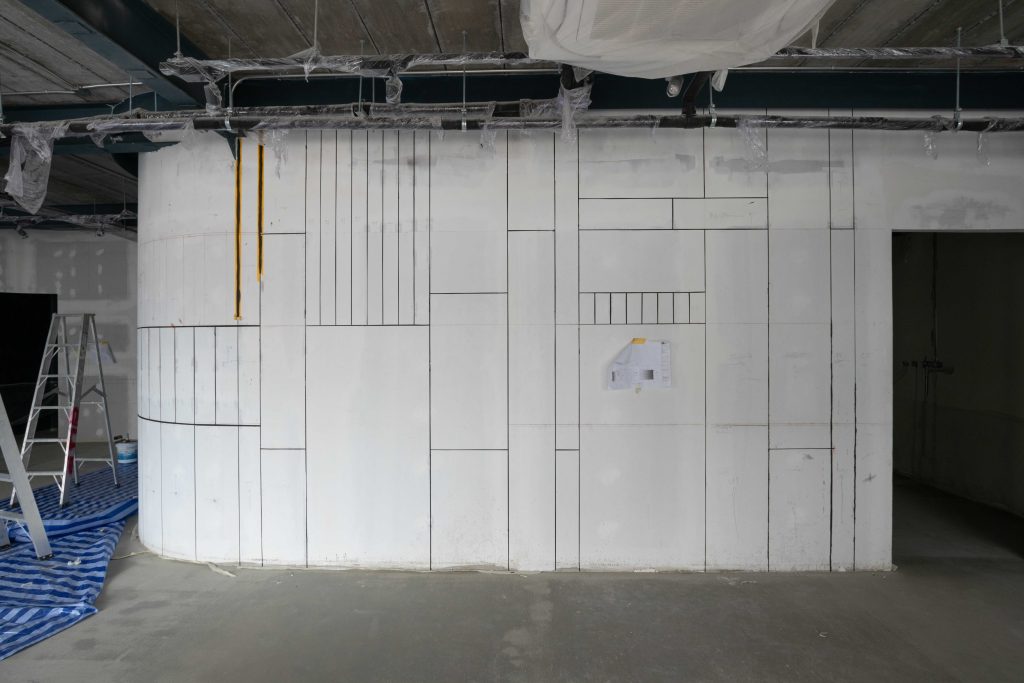
- Cement-plastered masonry walls must be smooth, clean, and free of dust, with adequate waterproofing to prevent water penetration into the wall. Wall edges and corners must be plumb and square. The substrate must not be skim-coated or primed prior to installation. If a primer has already been applied and cannot be removed, the installer should perform an adhesion test to verify the bond strength between the adhesive and the substrate. The customer should also be informed of any potential impact on the product warranty (refer to the Warranty Terms and Conditions).
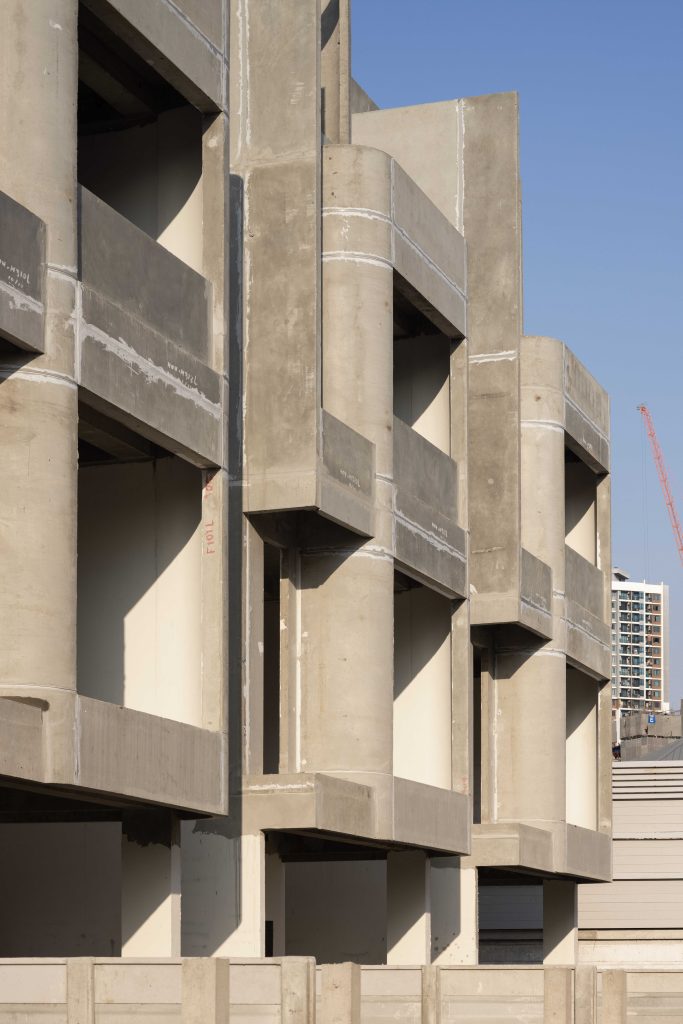
- Fiber cement boards should be specified for exterior applications and must be dimensionally stable, with no excessive swelling or movement beyond acceptable tolerances. The supporting framework must be structurally sound and capable of safely supporting the weight of the Stonesurface natural stone veneer.
- Cement plaster should be mixed with a waterproofing additive to provide effective protection against rainwater penetration. If an additional waterproofing coating is applied after the plaster has cured, an adhesion test should be performed to verify the bond strength between the adhesive and the newly treated surface before installation.
- For interior applications, MDF or HDF boards may be used as a backing substrate prior to installation.

Cutting Stone Veneer Sheets
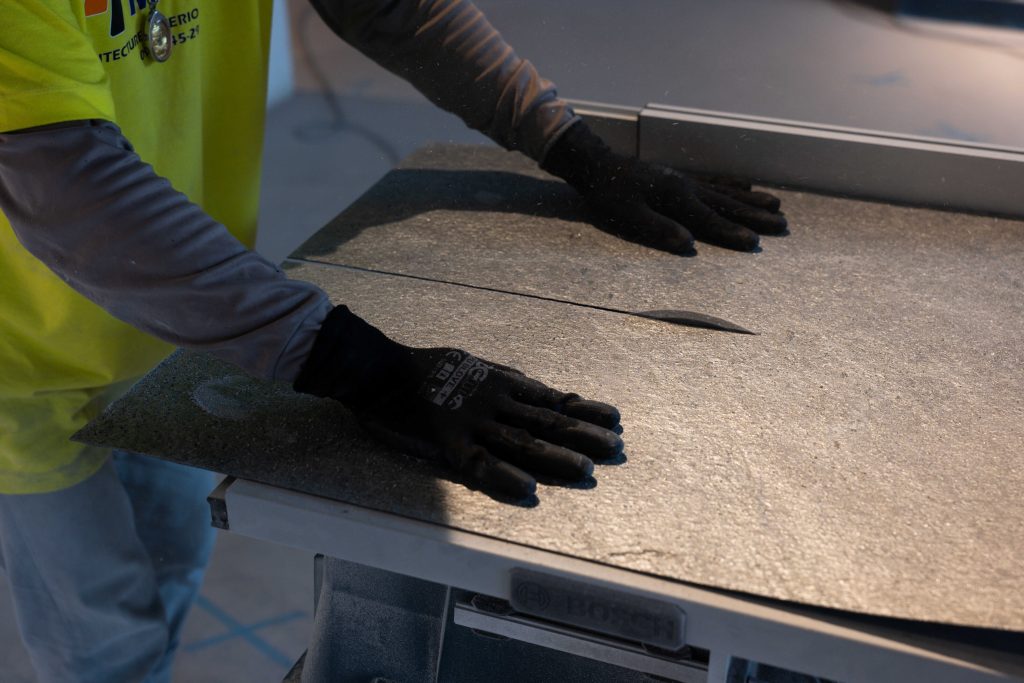
Cutting Stone Veneer can be performed similarly to general plywood cutting. However, suitable cutting tools and saw blades must be selected to achieve smooth and clean edges while ensuring proper safety during the cutting process.

Recommended Tools
- Circular saw / Table saw: Use a thin metal-cutting blade to minimize material loss during cutting.
- 7-inch 100-tooth carbide multi-purpose saw blade (high-grade option: higher cost but provides a finer and more precise finish).
- Diamond Blade: Can also be used, suitable for applications that require higher blade durability and longer service life.
- Angle grinder / Electric saw: Use a sharp blade at all times. If the blade becomes dull, replace it immediately to prevent edge chipping.
- Aluminum cutting scissors or a large utility knife: Can be used in some cases for finishing work and detailed adjustments.
Cutting Process
- Measure and mark the back side of the sheet according to the required dimensions.
- Select the appropriate cutting tool according to the sheet thickness, such as a circular saw, angle grinder, or electric saw.
- Cut slowly along the marked line to maintain cutting accuracy and minimize edge chipping.
- Finish the cut edges using sandpaper or a grinding stone to smooth the surface and prepare the sheet for installation.
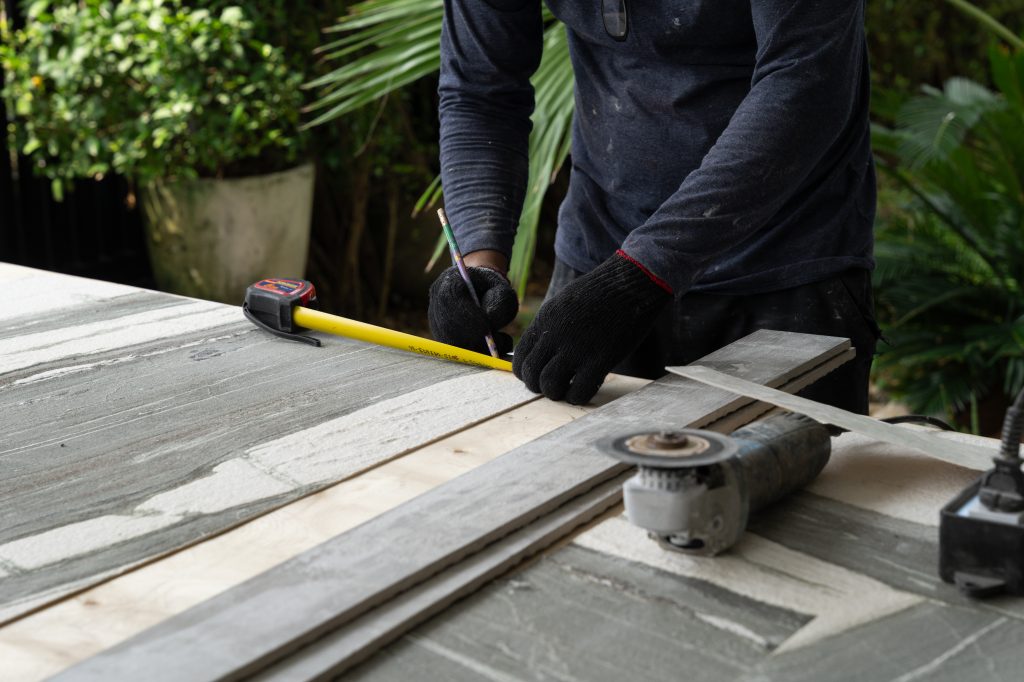
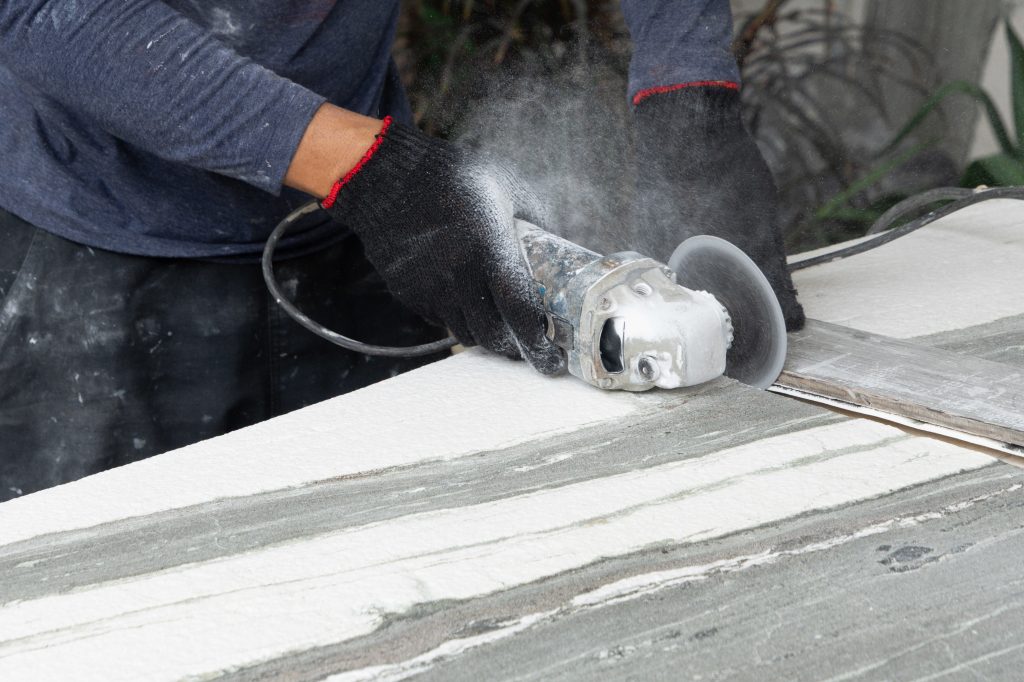
| Safety Precautions Operators should wear gloves and long-sleeved clothing to prevent injuries. Safety glasses should be worn to protect the eyes from flying debris during cutting. A dust mask should also be used to reduce the inhalation of dust particles generated during the cutting process. |
Installation and Adhesives
Recommended Adhesive for Stone Veneer Installation
The recommended adhesives for installing stone veneer sheets are PU adhesive or construction-grade polyurethane adhesive, such as 3M PU 525 Construction or MD-MS 101 Hybrid Modified Silicone Sealant by Mat Dept Co., Ltd. These adhesives provide strong and durable bonding performance with excellent resistance to weather conditions. Alternatively, contact the brand directly to order the recommended adhesive products.
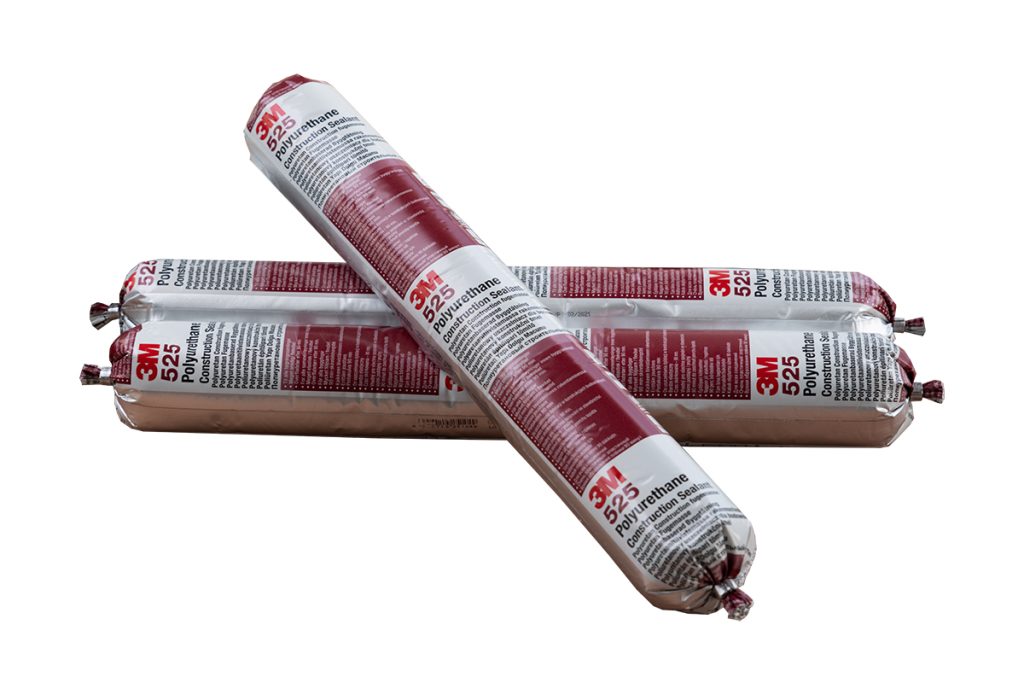
Construction-Grade Polyurethane Adhesive
3M PU 525 Construction
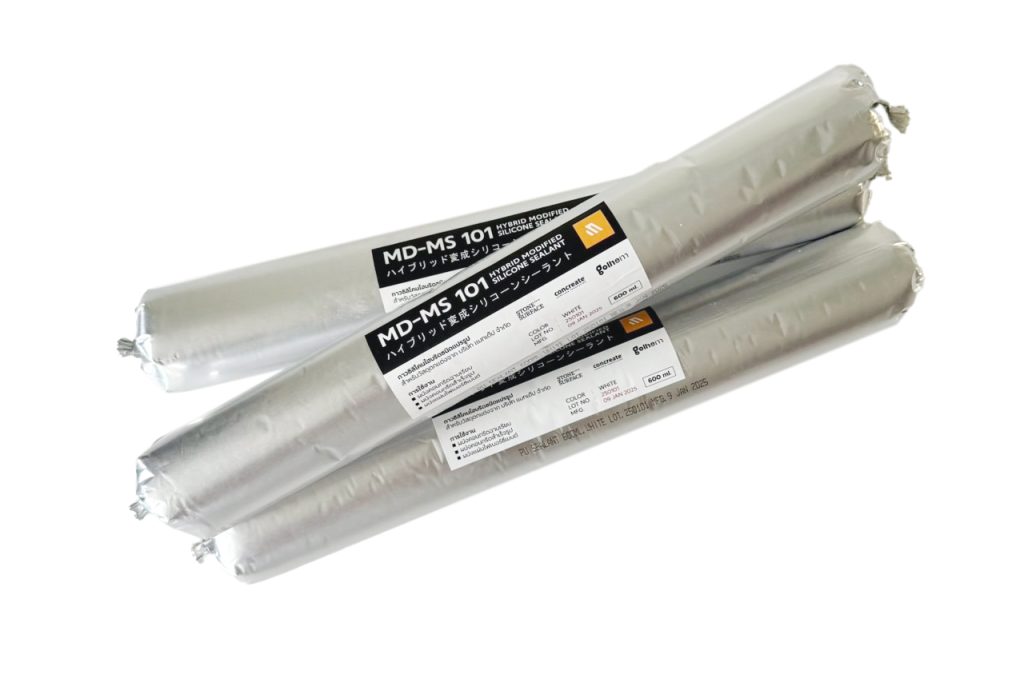
MD-MS 101 Hybrid Modified Silicone Sealant by Mat Dept Co., Ltd.
| Application Type | Installation Surface | Recommended Adhesive |
|---|---|---|
| Exterior | Concrete wall / Precast concrete wall | 3M PU 525 Construction, MD-MS 101 Hybrid Modified Silicone Sealant by Mat Dept Co., Ltd., or only adhesives officially recommended by the distributor. |
| Interior | Concrete Wall | 3M PU 525 Construction, กาว PU |
| Interior | MDF / HDF / Fiber Cement | PU adhesive or rubber adhesive |
- In some cases where additional adhesion is required, such as installations on fiber cement boards or precast concrete walls, adhesive can be applied across the entire back surface of the sheet. However, this method is not recommended for general plastered walls, as it increases the load on the substrate. If the plastered surface is sufficiently strong and stable, this installation method may be used.
- For interior applications or furniture work, the sheet can also be installed onto MDF/HDF boards using PU adhesive or general rubber adhesive.
- For exterior wall installations on concrete surfaces, only 3M PU 525 Construction or MD-MS 101 Hybrid Modified Silicone Sealant by Mat Dept Co., Ltd. are recommended.
- The adhesive will begin bonding immediately and continue to develop its strength over time, reaching full bonding performance within 48–72 hours.
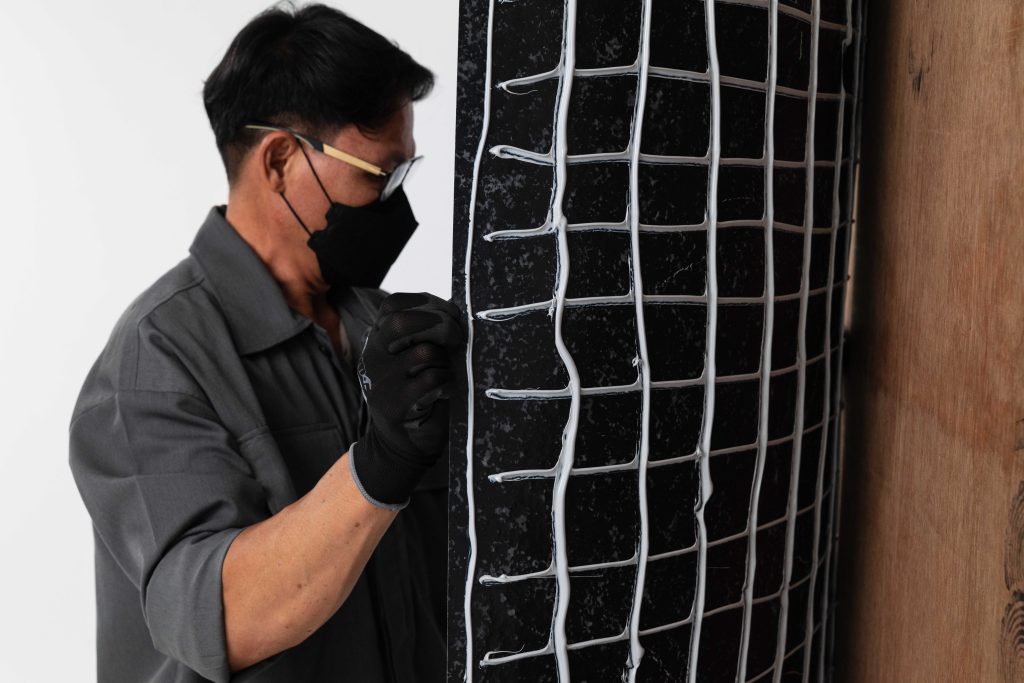
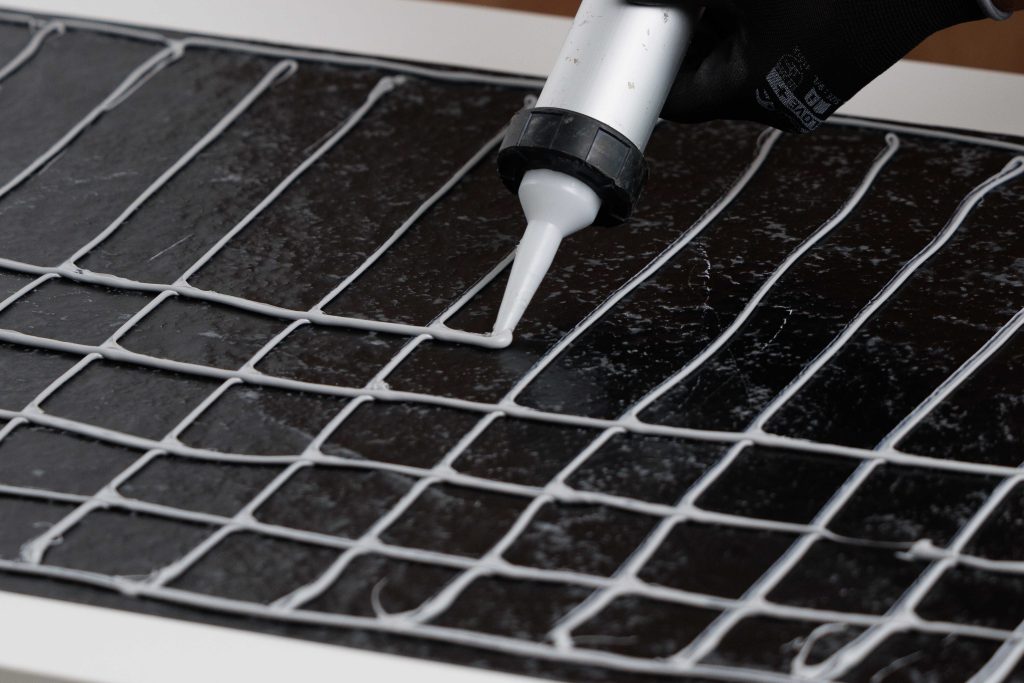
Recommended Adhesive Application for Interior Installation
Apply adhesive along the perimeter of the sheet, leaving a small gap from the edges to prevent adhesive from squeezing out. Apply the adhesive in a grid pattern with spacing no more than 10 cm apart.
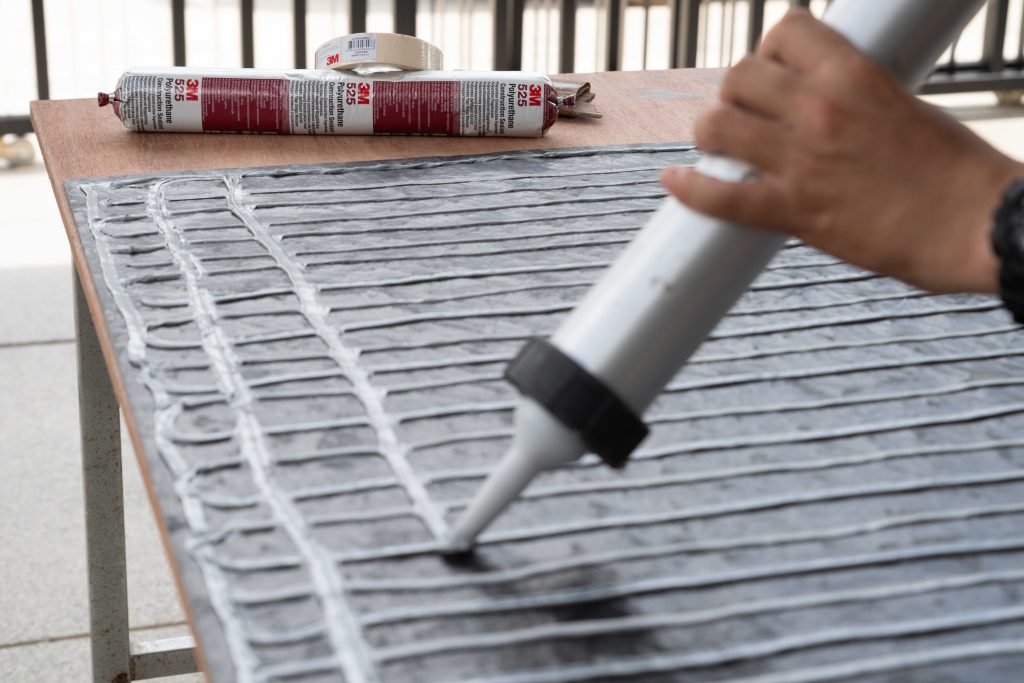
Recommended Adhesive Application for Exterior Installation
For exterior applications or interior areas exposed to moisture, the adhesive should be applied in vertical lines running downward toward the ground. Avoid horizontal adhesive lines unless necessary, to allow natural water drainage and prevent water pockets or trapped moisture behind the sheet.
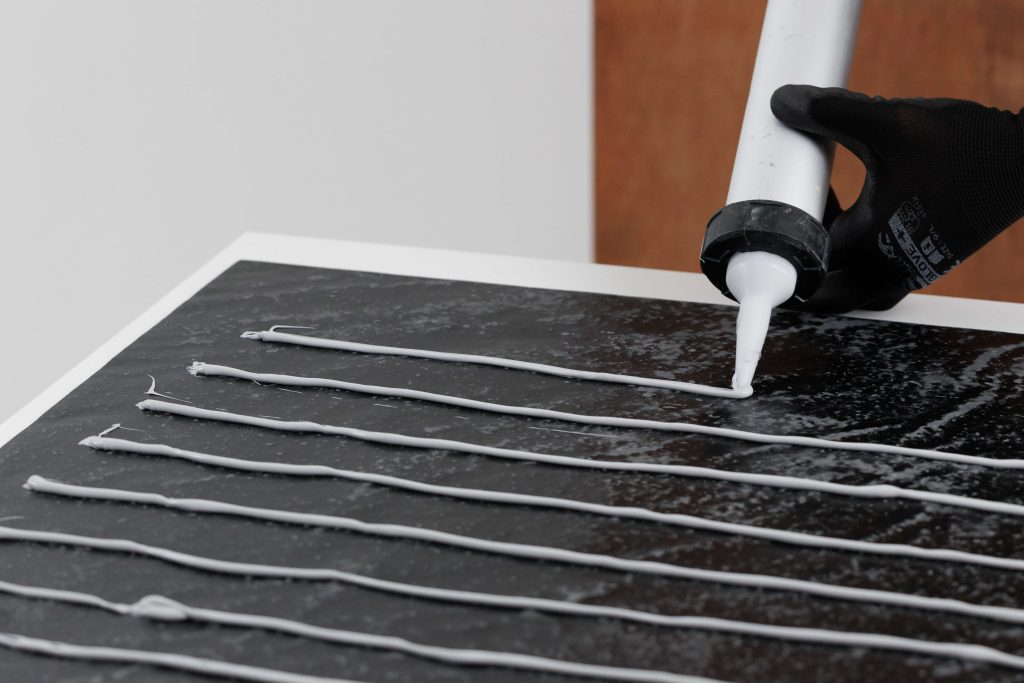
Recommended Adhesive Application for Exterior Installation – Top Sheet
For the topmost sheet of an exterior wall, apply 2–3 additional horizontal adhesive lines along the upper edge of the sheet to prevent water from flowing behind the material.
Recommendation: Preventing Sheet Movement After Installation
- After installation, the sheet may experience slight movement or downward sliding as the adhesive is still in the curing process.
- Use temporary adhesive tape, support wedges, or bracing tools to hold the sheet in the desired position until the adhesive has sufficiently set.
- If adhesive tape is used, select a type that leaves no adhesive residue (Low Tack/Removable Tape). Avoid leaving the tape applied for an extended period, as it may cause adhesive residue on the surface or make removal difficult. The tape should be removed once the adhesive has set sufficiently to support the weight of the sheet.
- The use of nail guns for fixing stone sheets is not recommended, as the nails may corrode and rust when exposed to moisture or exterior weather conditions. This can cause rust stains on the material surface and reduce the long-term durability of the installation.
- Avoid moving or applying impact to the installed area during the first 48–72 hours, or until the adhesive has fully cured.
- For large sheets or vertical installations, it is recommended to install from the bottom upward and provide weight support points during the adhesive curing process to minimize the risk of sheet movement or sliding.
- Before allowing the adhesive to cure, check the alignment, level, and positioning of the sheet carefully. Once the adhesive begins to set, adjusting the position may become difficult.
Joint Spacing
For the installation of Stonesurface natural stone veneer sheets, a joint gap of 1.5–2.0 mm is recommended. Due to possible dimensional variations during each cutting process, the sheet size may slightly increase or decrease. Providing joint gaps helps minimize alignment issues and prevent overlapping between sheets. The gaps can be finished with color-matched grout or sealant to achieve a neat and seamless appearance.
| Precautions If a tight butt joint installation is required, dry-fit the sheets before applying adhesive to ensure proper alignment and a seamless fit. If the edges do not fit perfectly, they can be trimmed and adjusted using sandpaper.** |
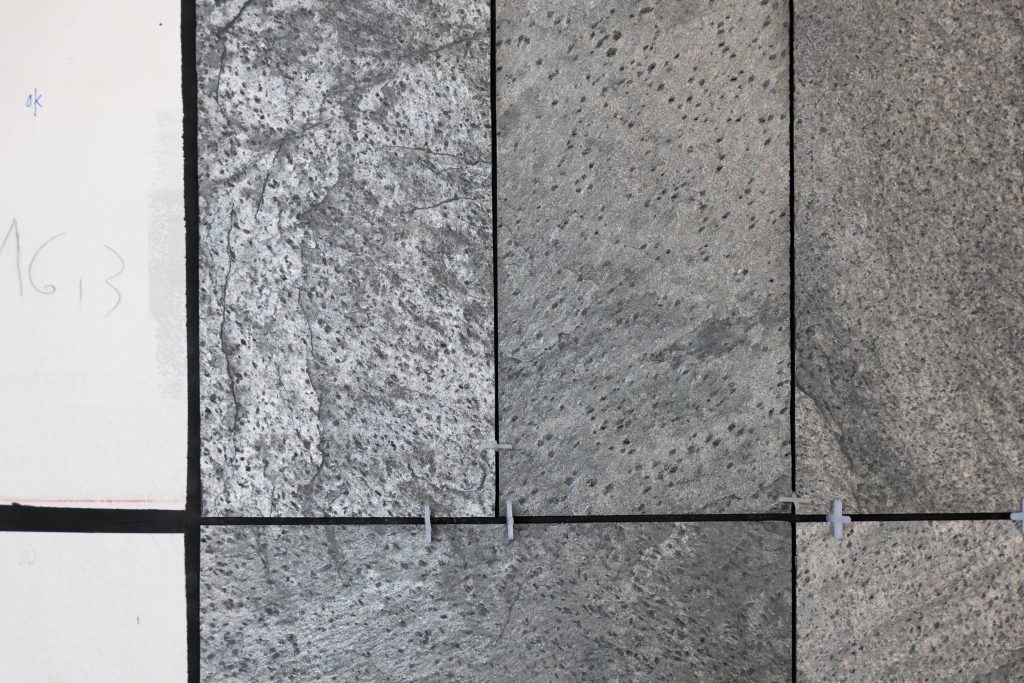
Joint spacing can be controlled by using spacers to maintain consistent gaps, similar to tile installation methods.
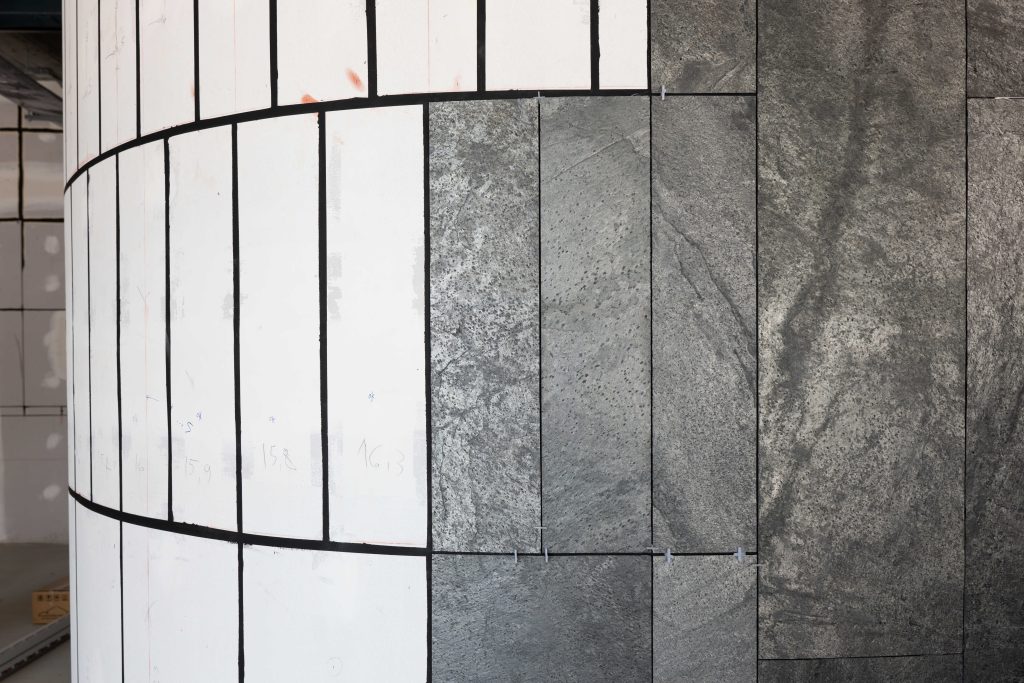
Technique: Painting the Joint Area Before Installing Stone Veneer Sheets for a Neat Finish
Corner Installation
The corner installation of Stonesurface natural stone veneer sheets can be achieved in several methods depending on the desired appearance and application requirements. The sheets can be cut with a router at a 45-degree angle to create a seamless corner joint, or the edges can be overlapped similar to general surface cladding methods.
Corner Installation Methods
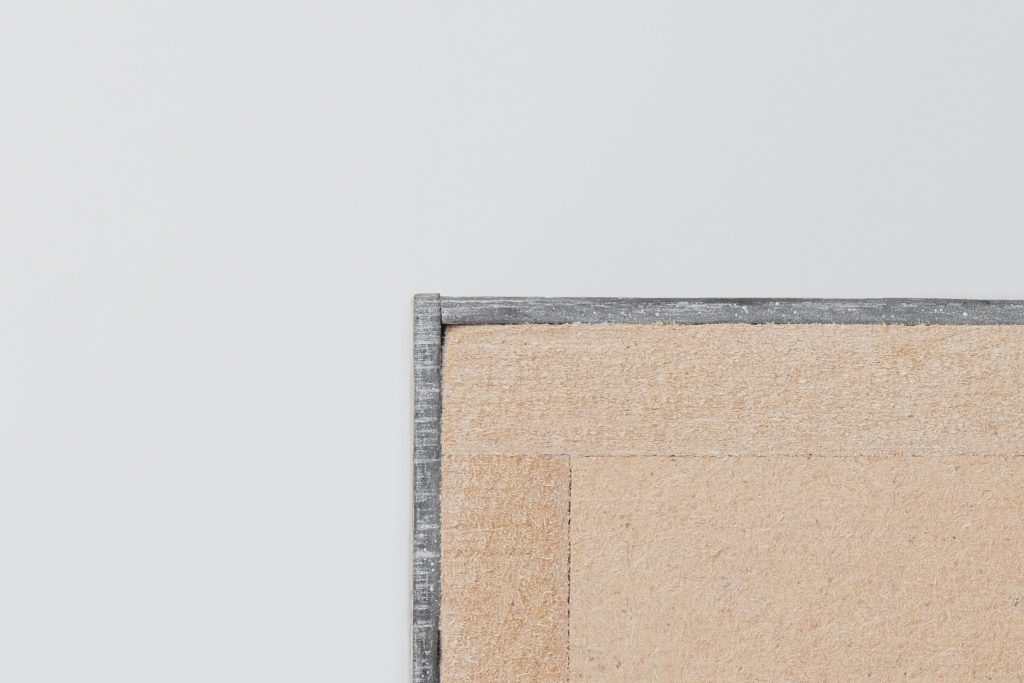

90-Degree Corner Installation
For 90-degree corner installation, the edge-to-edge joint alignment may have a tolerance of ±10 degrees.
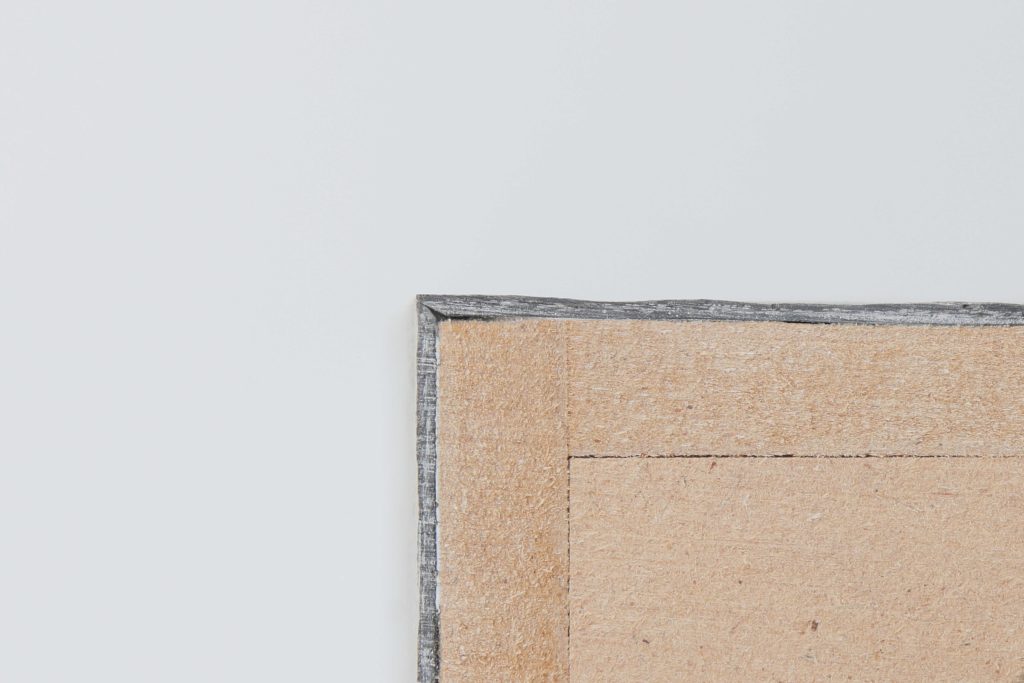

45-Degree Corner Installation
For 45-degree corner installation, the edge-to-edge joint alignment may have a tolerance of ±20 degrees.
Edge Finishing
This step may not be necessary, depending on the application. However, if there are imperfections from cutting, such as uneven edges or slight oversizing, fine-grit sandpaper (No. 100) can be used to smooth and adjust the edge. Touch-up paint can also be applied to improve the overall finish and appearance.
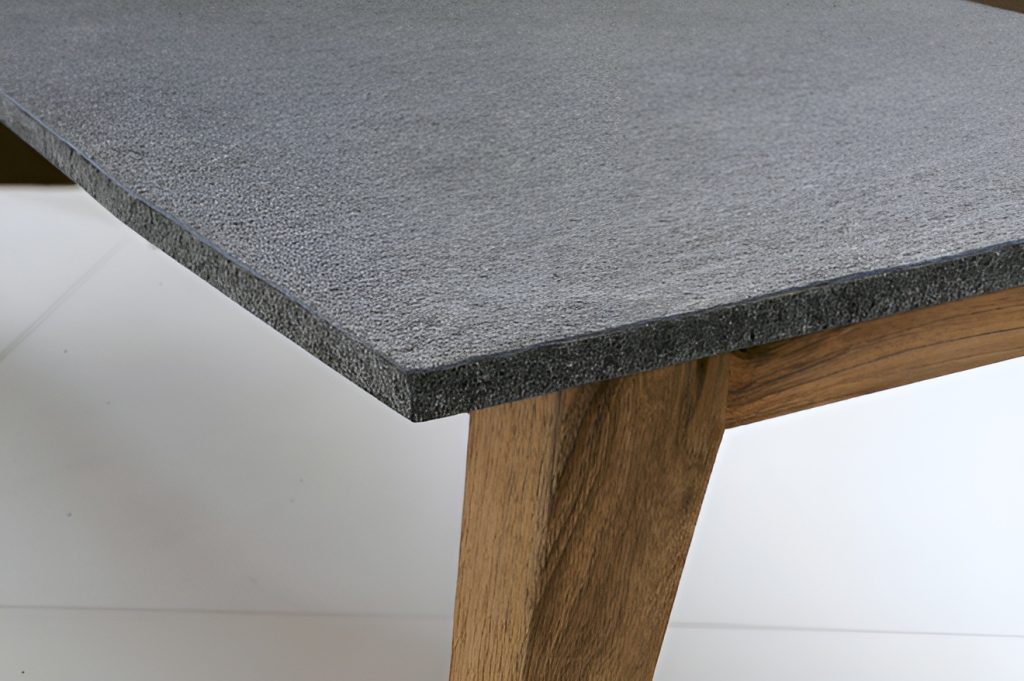
Touch-up Painting for Edge and Corner Finishing
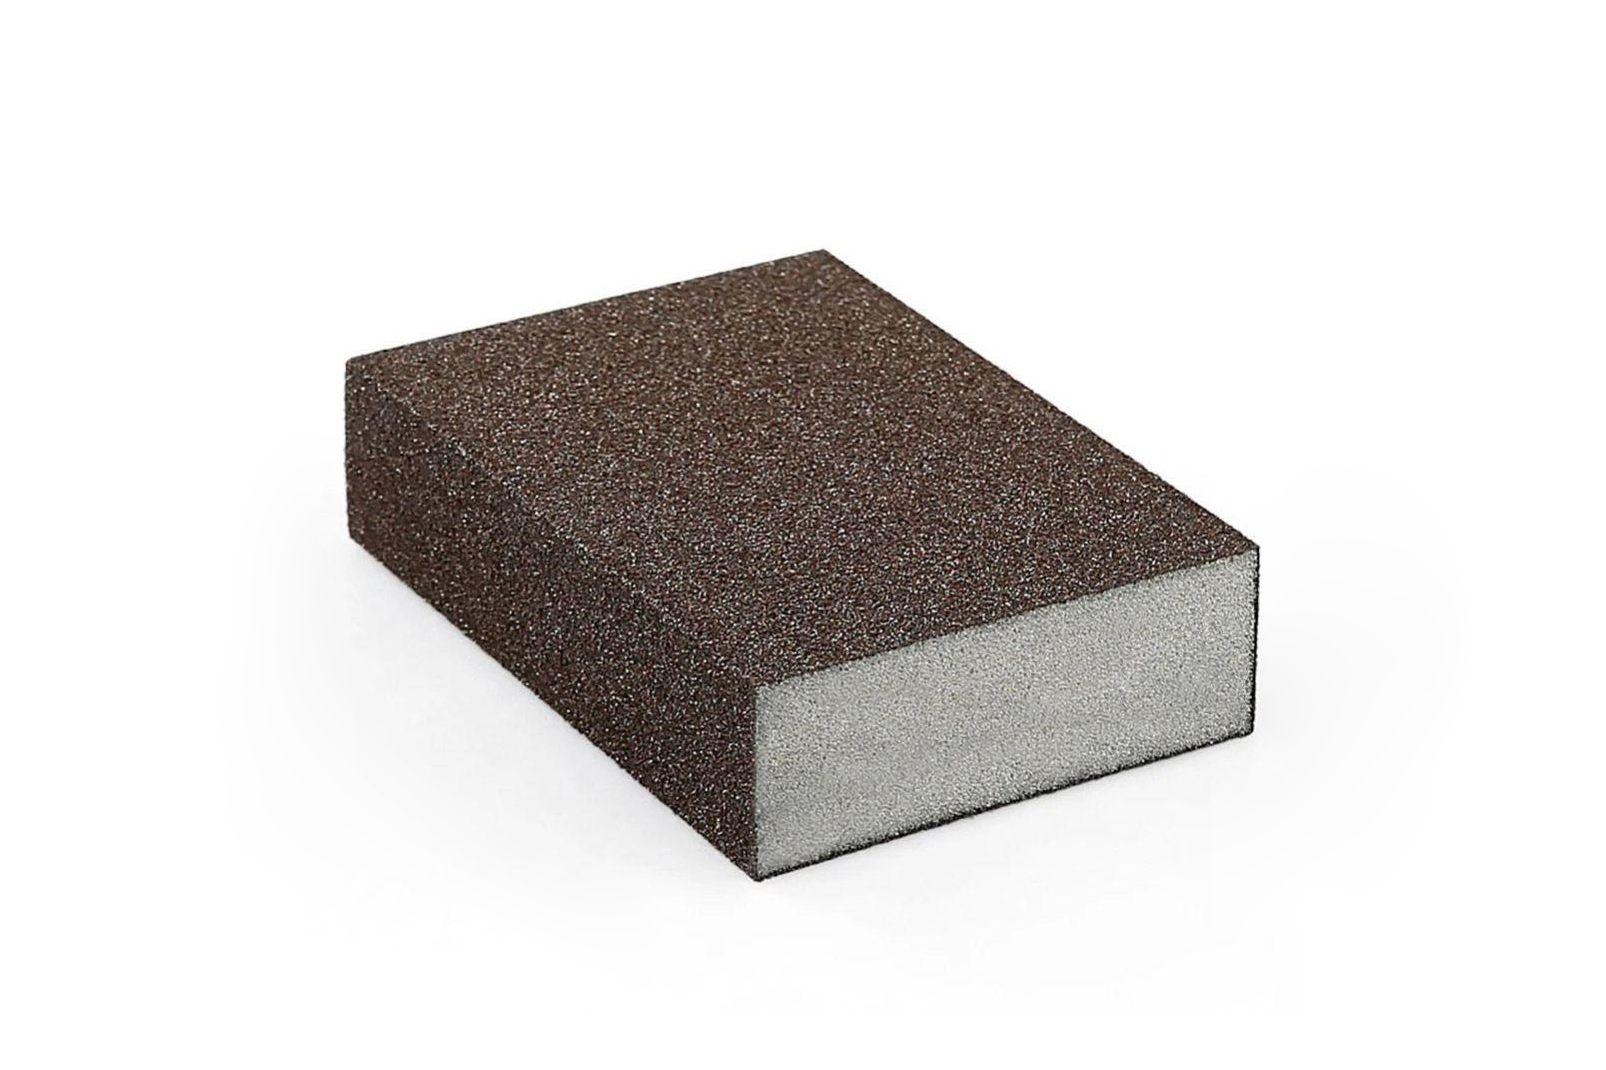
Fine-grit sandpaper (No. 100)
Cleaning
After installation is complete, clean the surface to remove any adhesive residue or other contaminants, and protect the material from potential damage during the remaining construction process.
- Use a soft cloth dampened with clean water or a general surface cleaner solution to wipe and clean the surface.
- Avoid using highly acidic cleaning products, such as chemical cleaners designed for sanitary ware, as they may damage the surface of the material.
- Avoid using brass brushes or abrasive floor brushes, as they may damage the surface finish of the material.
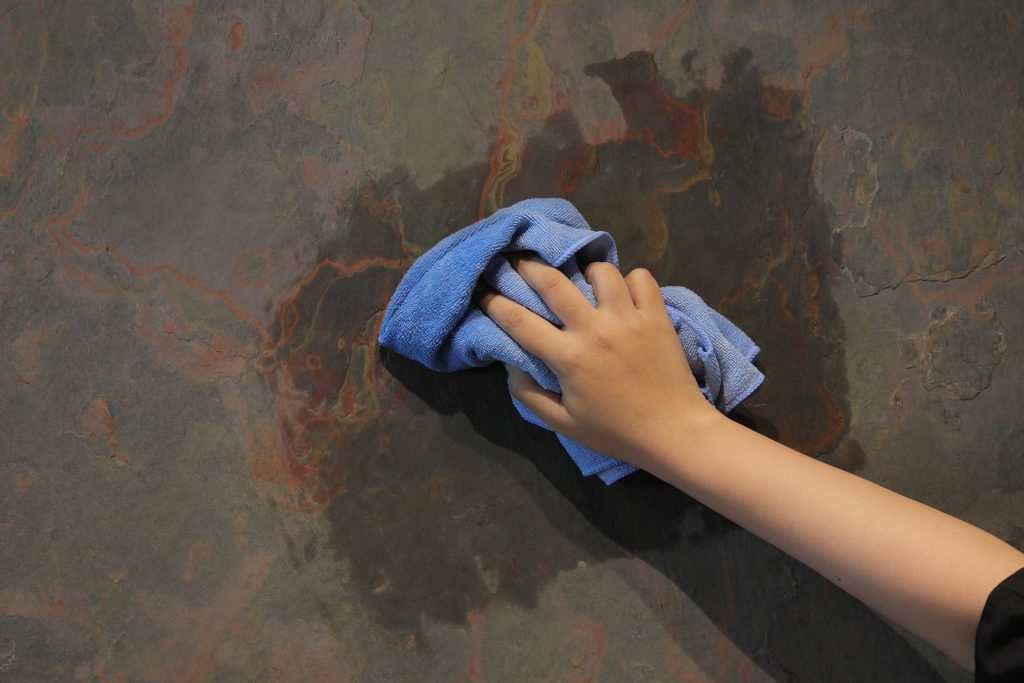
With the correct installation process following these recommendations, Stonesurface natural stone veneer products will achieve effective adhesion and provide long-lasting durability.
Note: This guide provides general installation guidelines. Installation details and methods may vary depending on the installation area, substrate materials, and specific project requirements. For detailed recommendations specific to your project, please consult our sales representatives.