


Preparing the Support Structure for Translucent Stone Veneer Sheet Installation
Designing the Support Frame for Acrylic Sheets
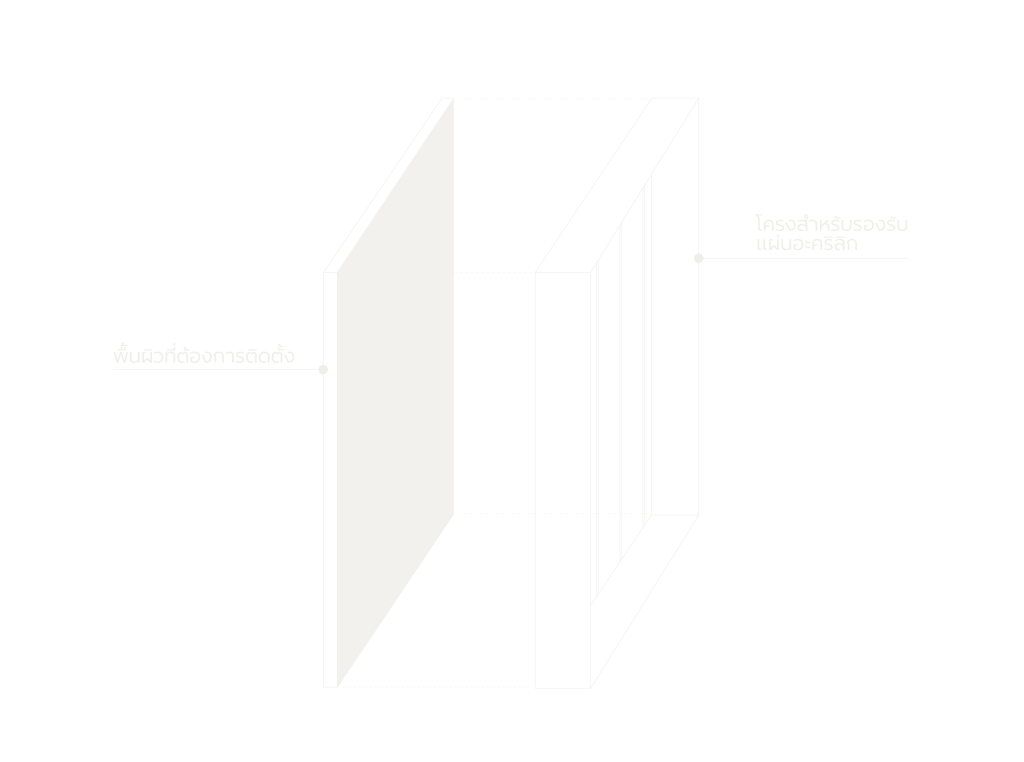
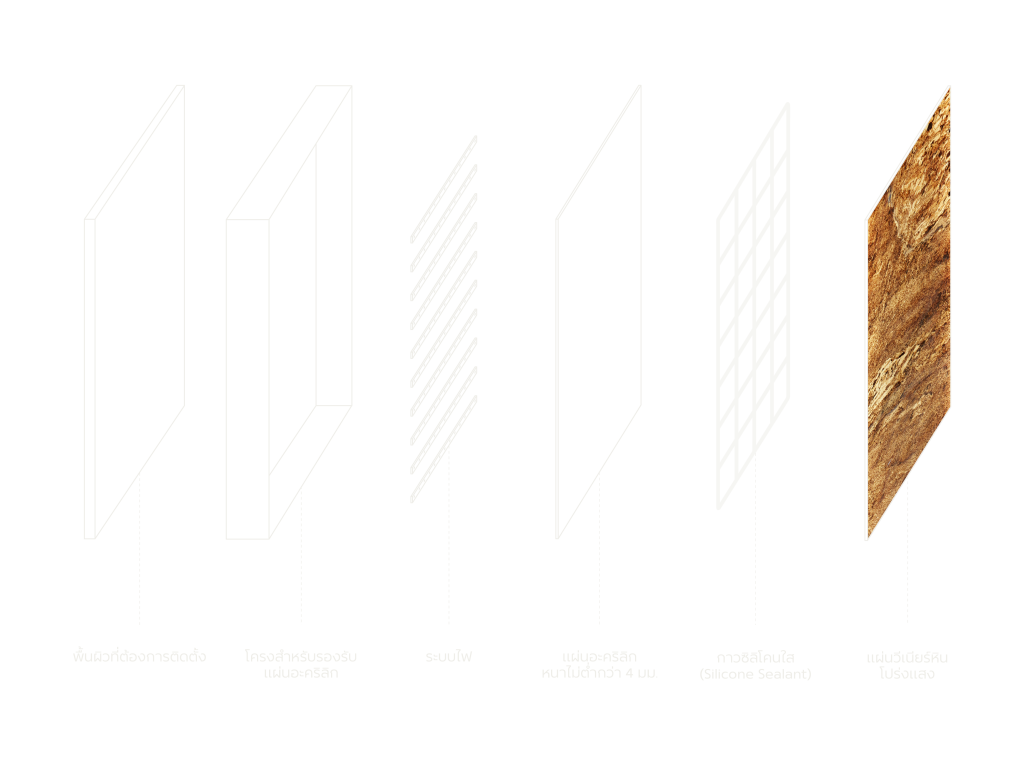
Start by preparing the installation surface and designing a support structure (such as an aluminum or wooden frame) with sufficient strength to support both the acrylic sheet and the stone veneer sheet installed on the front. This frame will serve as the main supporting structure for the entire installation system.
Preparing and Installing the Lighting System
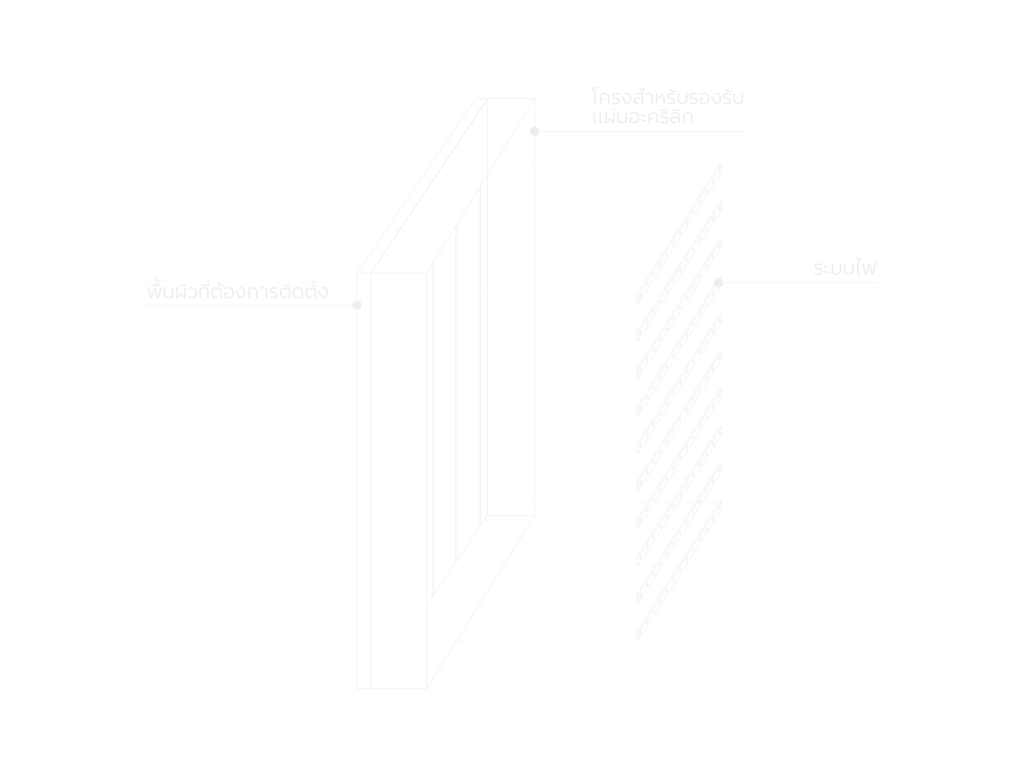
Install the lighting system (such as LED strips or other suitable lighting types) within the cavity of the support structure. Select the light color temperature according to the desired atmosphere, such as warm white, cool white, or daylight. Arrange the lighting layout to ensure even light distribution across the entire area, allowing the light to pass through the stone veneer beautifully in the final stage.
Install the Acrylic Sheet onto the Support Structure
Install a translucent acrylic sheet with a minimum thickness of 4 mm over the front of the support frame. Ensure the sheet is properly secured and conduct a lighting test to verify that the light is evenly diffused as required, without creating visible bright spots or uneven patches.
If the light diffusion is insufficient, increasing the acrylic sheet thickness is recommended to improve light distribution and achieve a more uniform illumination effect.
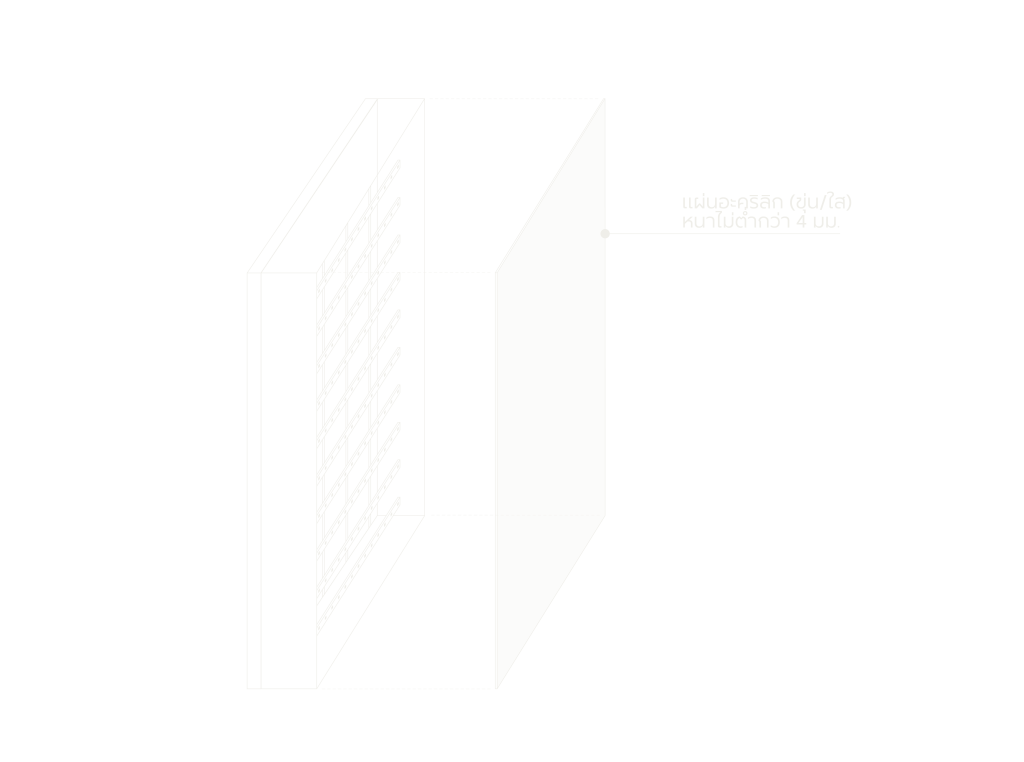
- The required distance between the acrylic sheet and the lighting system depends on the light intensity and the type of acrylic used. The distance should not be less than 15 cm to ensure even light diffusion and prevent visible bright spots or uneven illumination.
- The thickness of the acrylic sheet directly affects the structural strength of the support system and the quality of light diffusion.
Cutting Translucent Stone Veneer Sheets
Cutting Translucent Stone Veneer Sheets
Cutting Translucent Stone Veneer (Translucent Stone) can be performed in the same way as general plywood cutting. However, proper tools and suitable saw blades must be selected to achieve smooth, clean edges while ensuring safety during the cutting process.
Cut the Translucent Stone Veneer Sheet to the Required Size
Measure the installation area accurately, then cut the stone veneer sheet to the exact size required to fit the installed acrylic sheet.

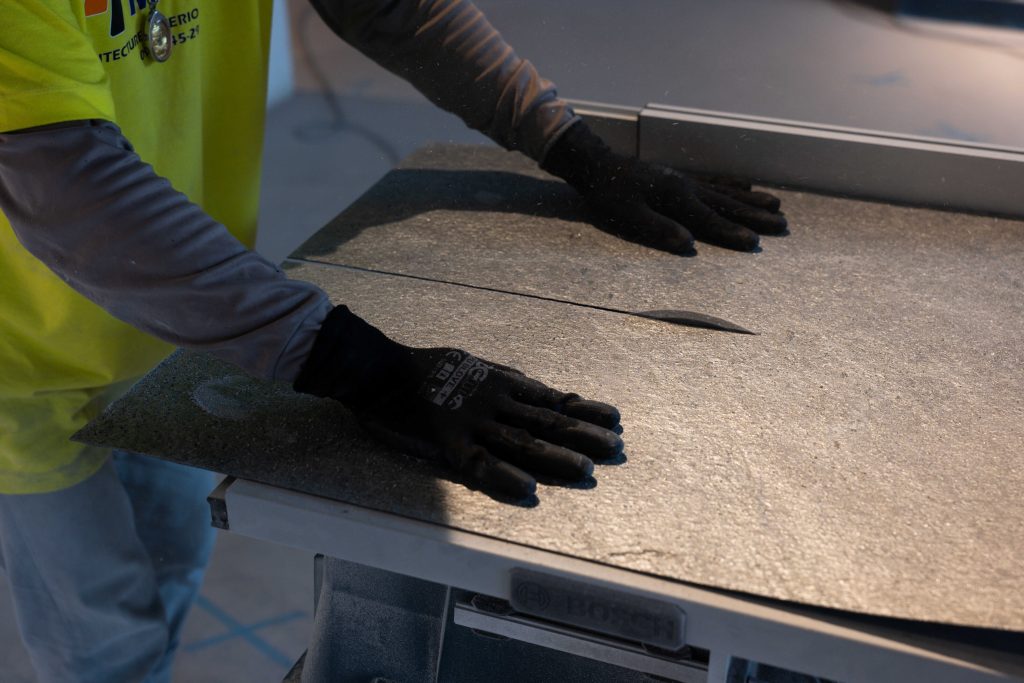
Recommended Tools
- Circular saw / Table saw: Use a thin metal-cutting blade to minimize material loss during cutting.
- 7-inch 100-tooth carbide multi-purpose saw blade (high-grade option: higher cost but provides a finer and more precise finish).
- Diamond Blade: Can also be used, suitable for applications that require higher blade durability and longer service life.
- Angle grinder / Electric saw: Use a sharp blade at all times. If the blade becomes dull, replace it immediately to prevent edge chipping.
- Aluminum cutting scissors or a large utility knife: Can be used in some cases for finishing work and detailed adjustments.
Cutting Process
- Measure and mark the back side of the sheet according to the required dimensions.
- Select the appropriate cutting tool according to the sheet thickness, such as a circular saw, angle grinder, or electric saw.
- Cut slowly along the marked line to maintain cutting accuracy and minimize edge chipping.
- Finish the cut edges using sandpaper or a grinding stone to smooth the surface and prepare the sheet for installation.
| Safety Precautions Operators should wear gloves and long-sleeved clothing to prevent injuries. Safety glasses should be worn to protect the eyes from flying debris during cutting. A dust mask should also be used to reduce the inhalation of dust particles generated during the cutting process. |
Selecting the Right Adhesive
The recommended adhesive is clear silicone sealant only.
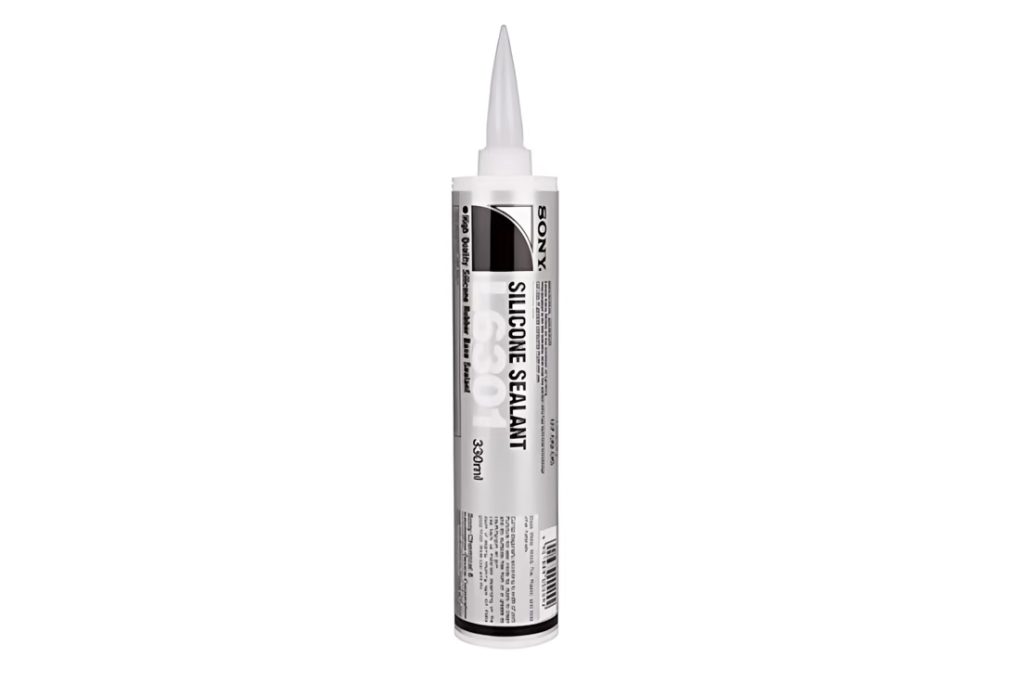
SONY L6301 (DEXERIALS) Silicone Sealant
A high-quality silicone sealant from Japan with a clear adhesive formula. It can withstand temperatures up to 150°C and provides long-lasting weather resistance without peeling or detachment.
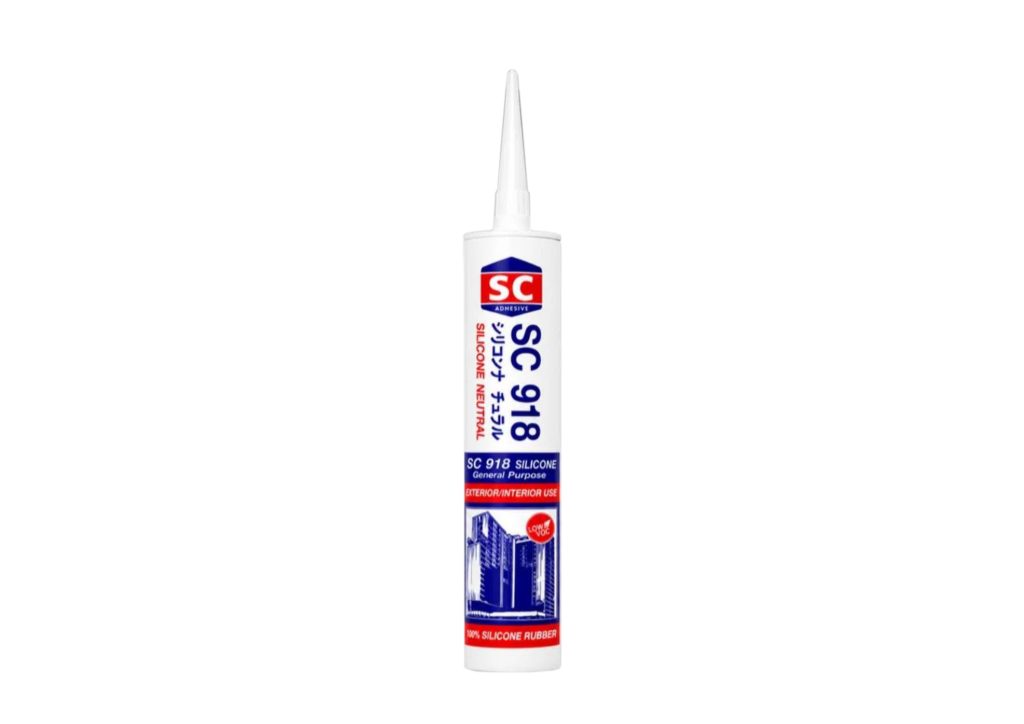
SC-918 Silicone Neutral – Clear
SC-918 Silicone Neutral is a neutral-cure silicone adhesive with a clear formulation. It provides strong adhesion and high flexibility, allowing it to accommodate movement at joints. Suitable for both interior and exterior applications, it also features low VOC emissions, making it more convenient and safer to use.
Adhesive Application Method for Translucent Stone Veneer
Adhesive Application Method for Translucent Stone Veneer Sheets
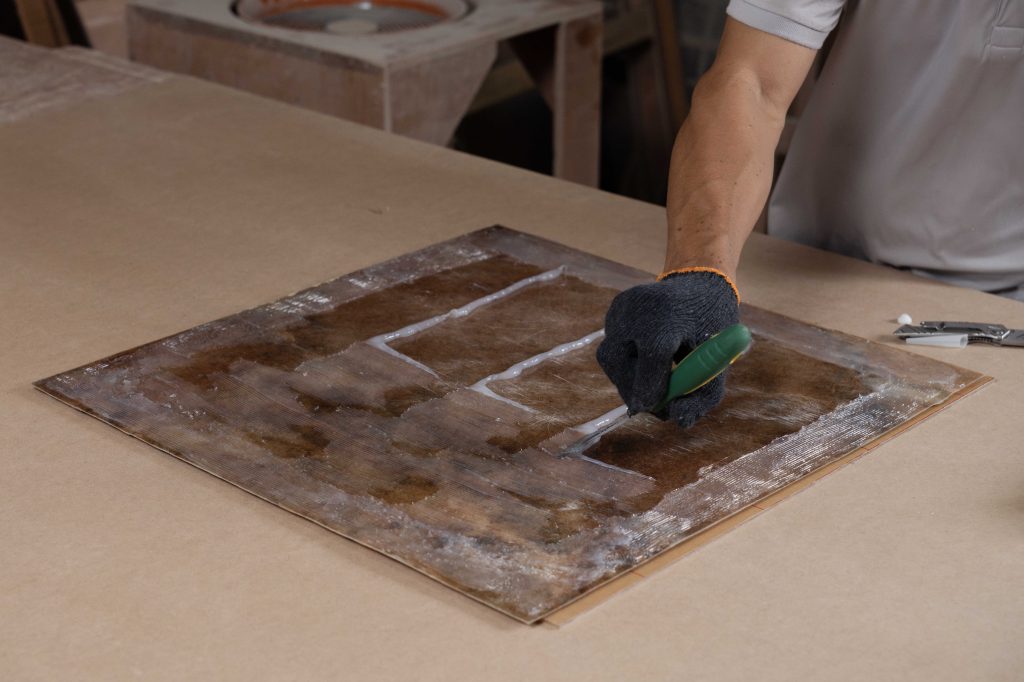
Apply clear silicone sealant in a grid pattern across the acrylic sheet to ensure full coverage. Select a silicone sealant with strong adhesion properties and a clear formula that does not obstruct light transmission.
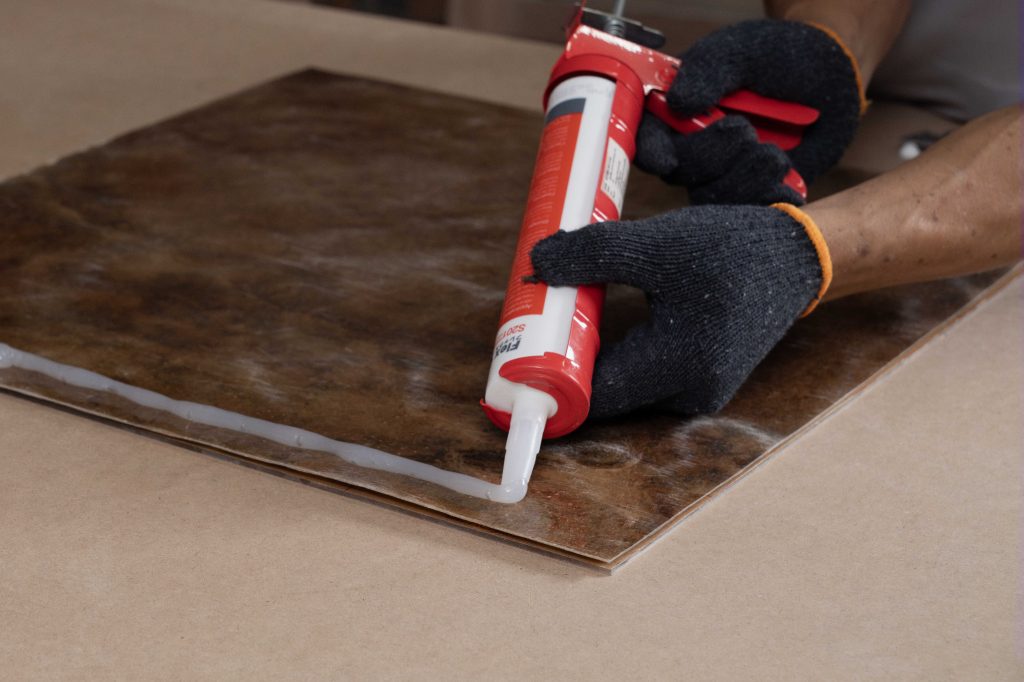
After applying the silicone sealant in lines, spread the adhesive evenly across the entire surface. Do not leave the sealant in raised bead lines, as they may become visible through the stone veneer when the backlight is turned on and may cause uneven light distribution. Therefore, it is recommended to use a flat trowel to smooth the sealant into an even layer across the surface before placing the stone veneer sheet.
Installing Translucent Stone Veneer Sheets onto Acrylic Sheets
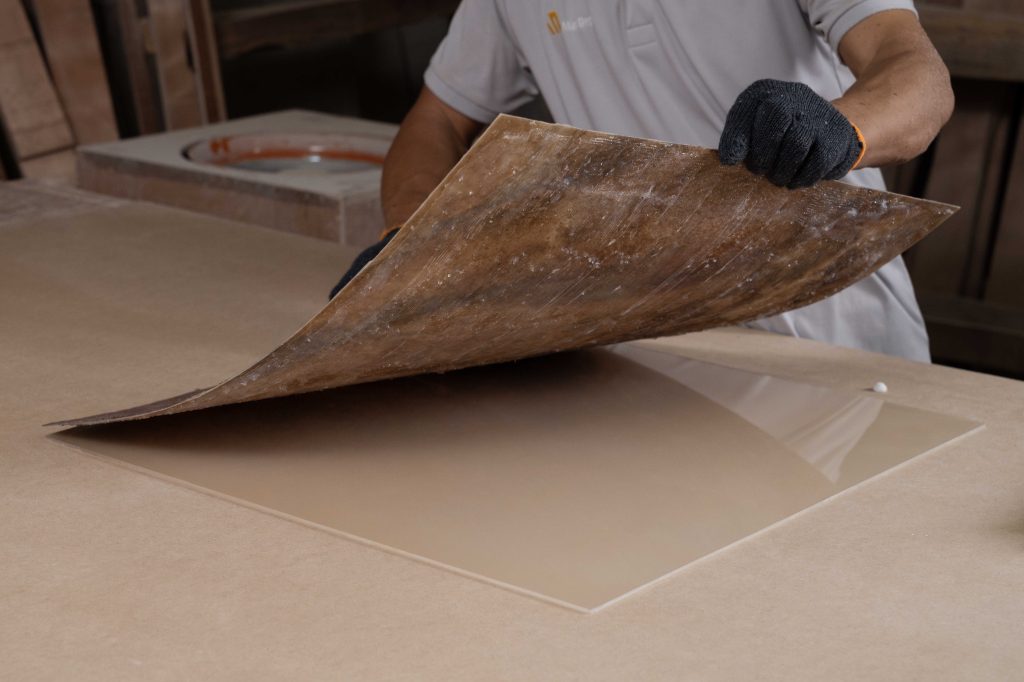
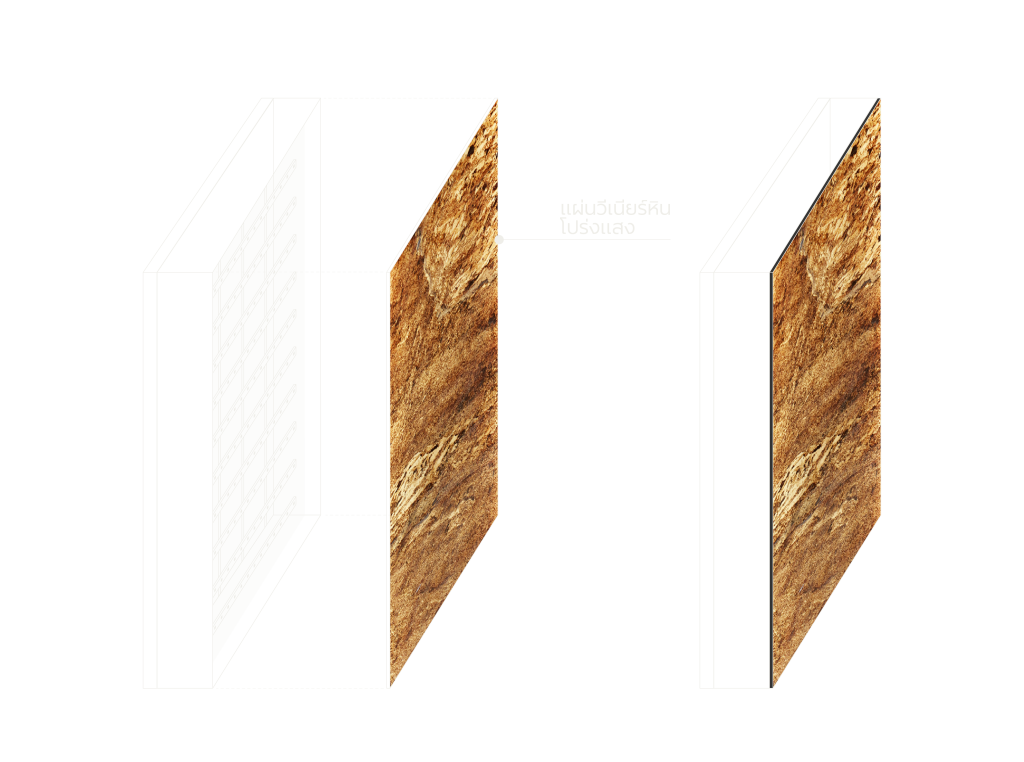
Place the translucent stone veneer sheet onto the acrylic sheet and press it firmly against the surface. Apply even pressure across the sheet to remove all trapped air bubbles. Ensure that no gaps remain between the two surfaces to achieve strong adhesion and allow the light to pass through beautifully and evenly.
Joint Spacing
For translucent stone veneer installation, leaving gaps between sheets is not recommended.
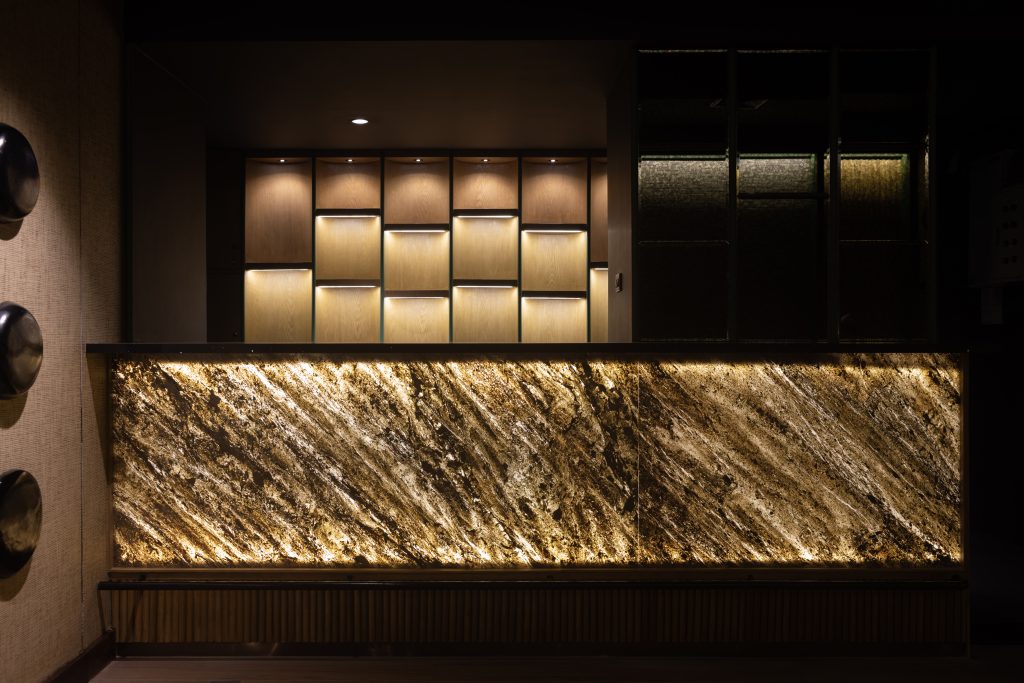
When installing multiple translucent stone veneer sheets side by side, gaps or joints between sheets should be avoided. The backlight may pass through these areas, creating visible bright lines or light leaks on the front surface. This can interrupt the natural appearance of the stone surface, which should appear seamless and continuous.
Recommendation:
- Install the sheets as close together as possible (edge-to-edge), without leaving grout gaps like conventional tile installation.
- Cut the edges of the sheet smoothly and accurately at a right angle to ensure the tightest possible joint between sheets.
- If the cut edge is uneven, such as an irregular cutting line or slightly oversized dimensions, use fine-grit sandpaper (No. 100) to gently smooth and adjust the size. Alternatively, touch up the edge with matching paint to improve the overall appearance.
Cleaning
After installation is complete, clean the surface to remove any adhesive residue or other contaminants, and protect the material from potential damage during the remaining construction process.
- Use a soft cloth dampened with clean water or a general surface cleaner solution to wipe and clean the surface.
- Avoid using highly acidic cleaning products, such as chemical cleaners designed for sanitary ware, as they may damage the surface of the material.
- Avoid using brass brushes or abrasive floor brushes, as they may damage the surface finish of the material.

By following the correct installation procedures according to these guidelines, Stonesurface translucent stone veneer products can achieve effective adhesion and provide long-lasting performance.
Note: This guide provides general installation guidelines. Installation details and methods may vary depending on the installation area, substrate materials, and specific project requirements. For detailed recommendations specific to your project, please consult our sales representatives.