


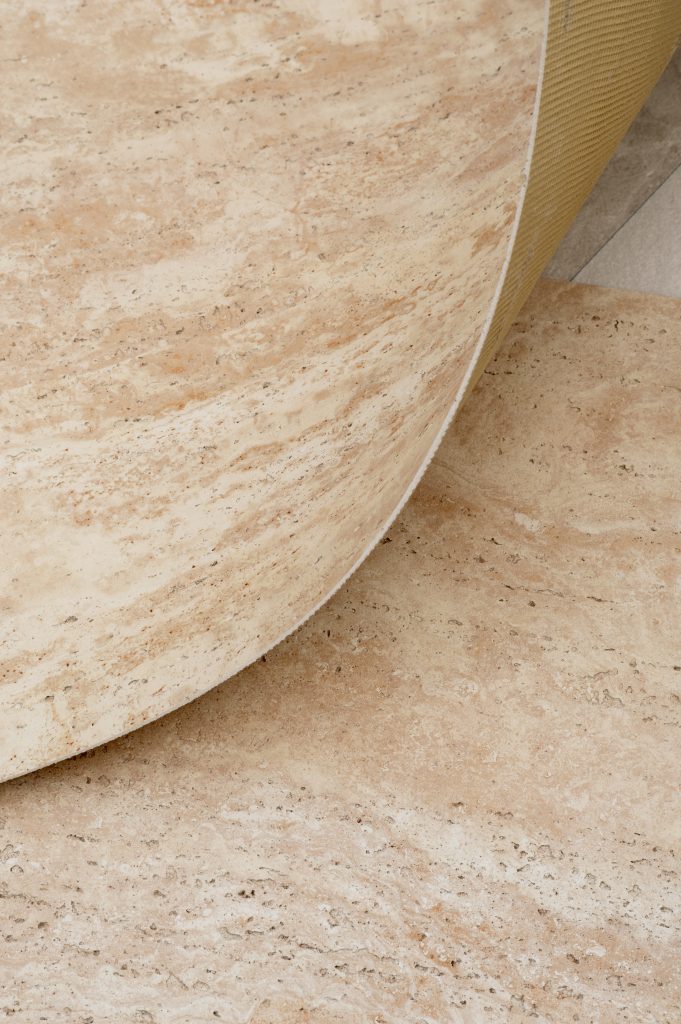
Surface Preparation Before Installing Golhem Wall Decorative Materials
Golhem natural clay-based wall decorative materials can be installed on a variety of surfaces, including concrete walls, fiber cement boards, plywood, and other wall substrates. Proper surface preparation is essential as it directly affects the bonding strength and the long-term performance of the material.
Brick Masonry and Plastered Walls
• Surface Flatness and Waterproofing: The wall surface must be smooth, clean, and free from dust. It should have adequate waterproofing to prevent water penetration into the wall structure. Wall edges must be properly aligned, vertical, and square. Cement plaster walls should be mixed with waterproofing additives to help prevent water seepage during rainy conditions. If waterproofing is applied afterward, adhesion testing must be conducted to ensure that the adhesive can directly bond with the plaster surface.
• No Primer Paint or Skim Coat: The wall surface should not have primer, paint, or skim coat finishes. If primer, coating materials, or surface treatments have already been applied and cannot be removed, an adhesion test should be performed before installation. The results should be acknowledged as they may affect the installer’s warranty coverage.
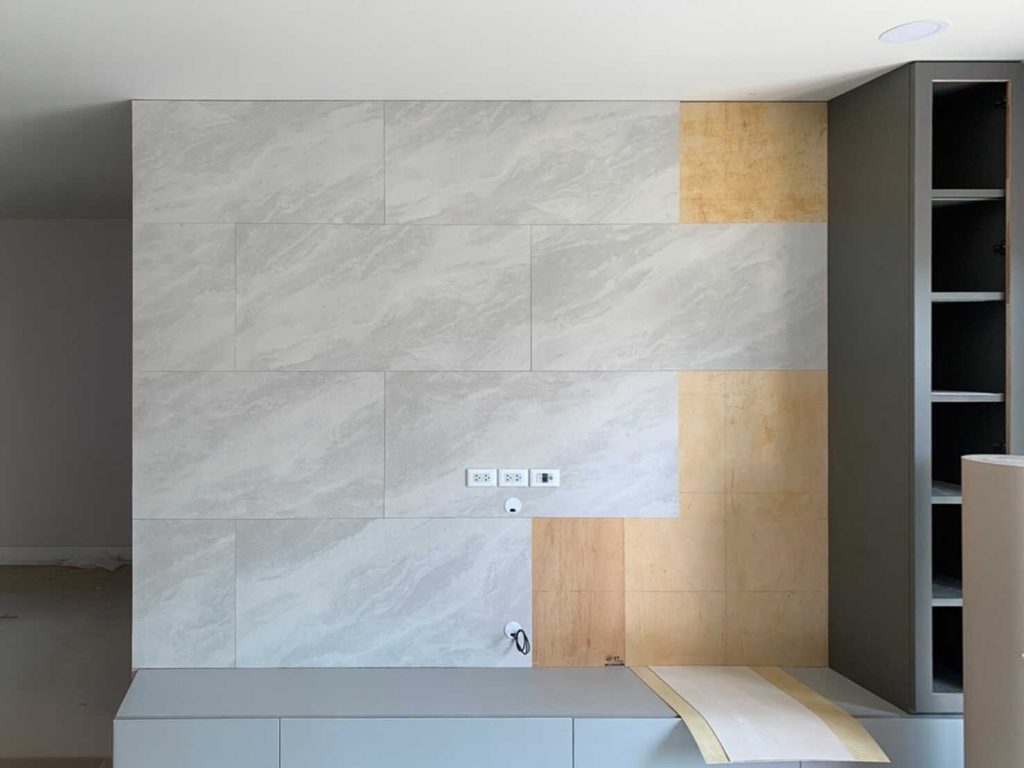
Other Wall Types: Fiber Cement Board / Plywood / MDF (Interior Applications)
• Fiber Cement Board and Plywood: Fiber cement boards, plywood, and other wall substrates must have a smooth surface, be free from dust, and have a strong supporting structure. The surface must not warp or deform and must be capable of supporting the weight of the decorative material.
• Specification for Exterior Applications: Fiber cement boards used for exterior installations must be rated for outdoor use to prevent swelling or movement under weather conditions beyond standard environmental conditions.
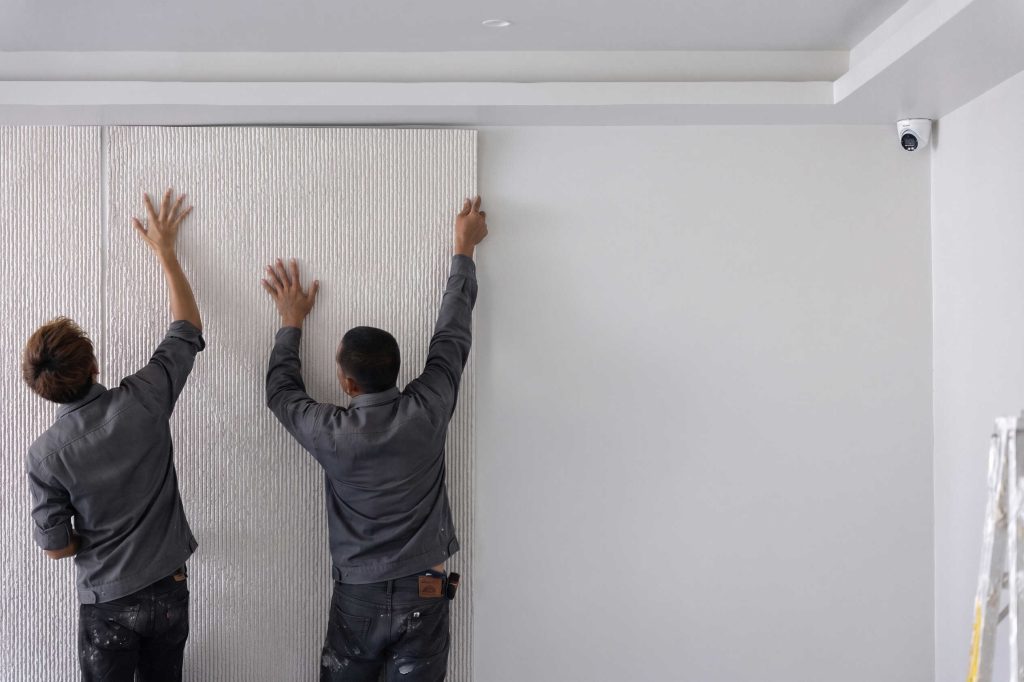
Existing Walls: Wallpaper and Existing Wall Surfaces
• Wallpaper Walls: The existing wallpaper should be completely removed. Clean and prepare the surface to ensure it is smooth and free from adhesive residue or remaining wallpaper fragments.
• Tiled Walls: Ensure that the existing tiles are firmly bonded and free from loose or unstable areas. If any tiles are easily detached, they should be removed and the surface should be re-plastered and leveled before installation.
Cutting Method
Cutting Golhem Sheets
Cutting Golhem sheets can be performed in the same way as thin stone veneer. Start by measuring and marking the required dimensions, then cut the sheet using suitable tools such as a circular saw or a 4-inch angle grinder/cutting tool.
The cutting blade must be sharp. If the blade becomes dull, it should be replaced immediately to prevent chipped edges or uneven cuts. Pay attention to the blade thickness, as it may remove more material than expected.
Cut slowly along the marked line for better control, then smooth the edges using fine sandpaper or a grinding stone to prepare the sheet for installation.
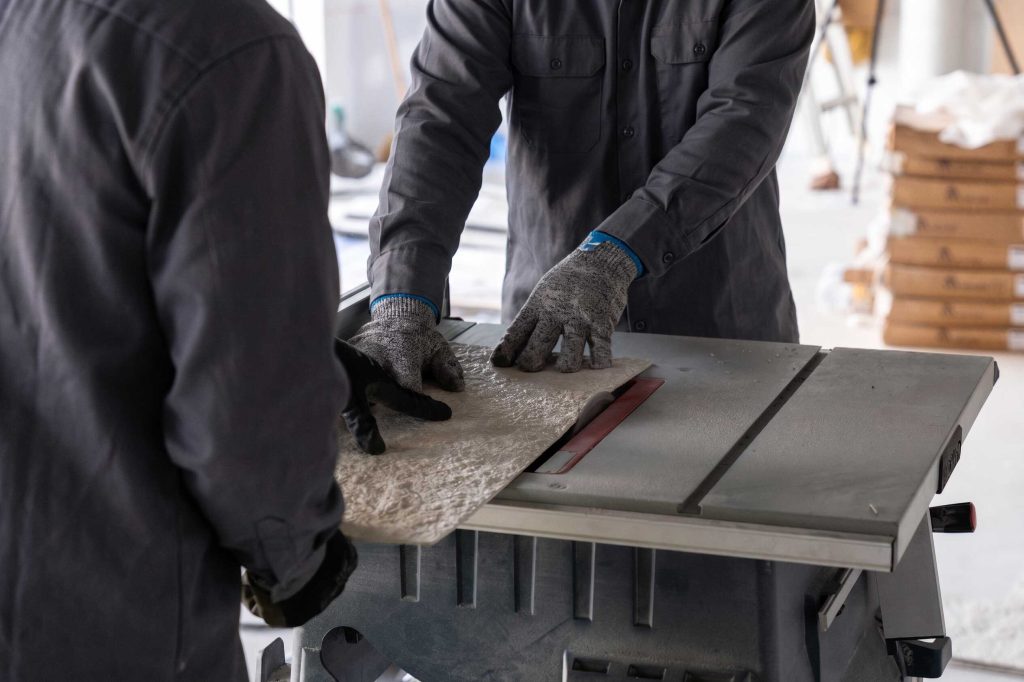
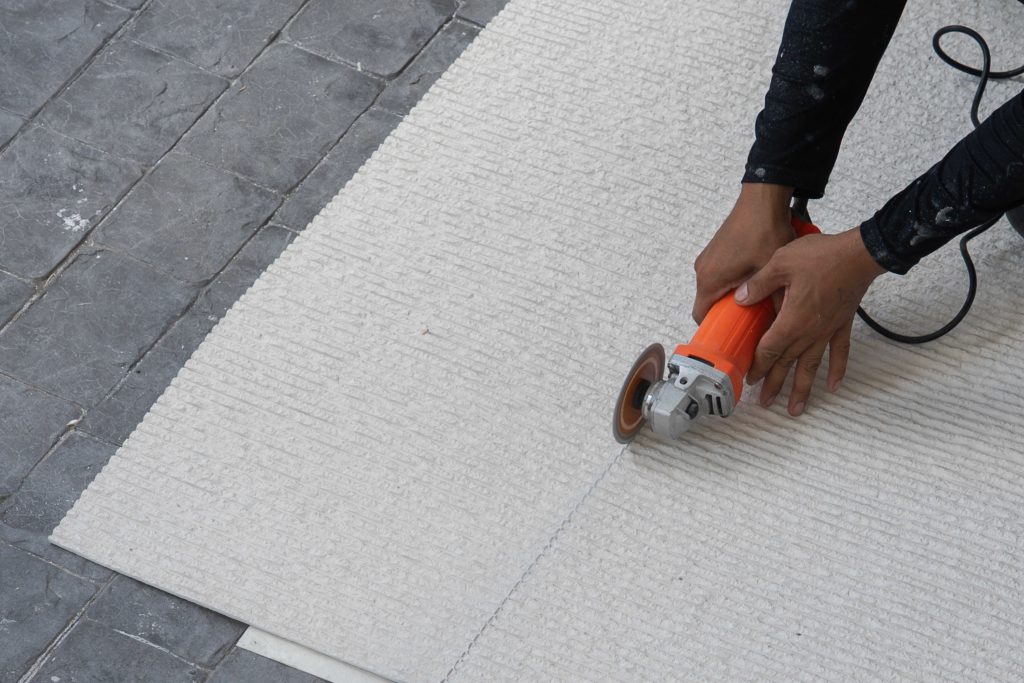
| Safety Precautions Operators should wear gloves and long-sleeved clothing to prevent injuries. Safety glasses should be worn to protect the eyes from flying debris during cutting. A dust mask should also be used to reduce the inhalation of dust particles generated during the cutting process. |
Installation and Adhesives
Installation of Golhem Wall Decorative Materials
The installation of Golhem wall decorative materials should be carried out according to the recommended procedures to ensure strong adhesion, secure bonding, and a clean finished appearance. The selection of adhesive and application method depends on the installation conditions and the type of surface being installed.
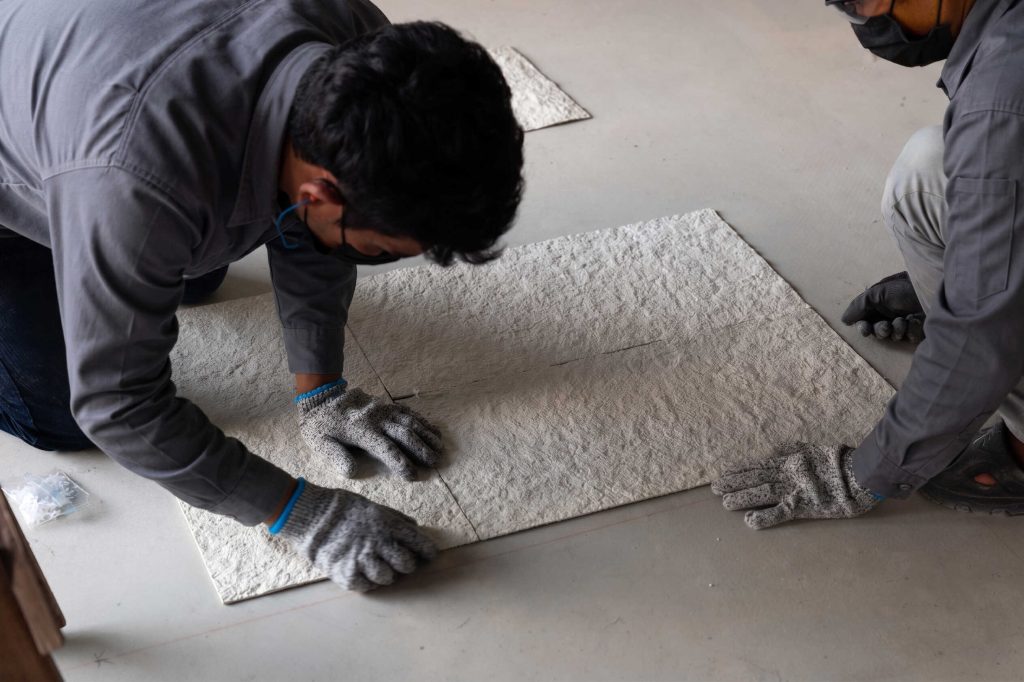
Pre-Installation Inspection
• Material Condition: Before installation, inspect the material sheets to ensure they are in perfect condition and free from chips, cracks, breakage, or surface damage.
• Adhesive Testing: Adhesive testing should be performed to confirm that the adhesive can properly bond with the specific substrate. Changing the installation surface does not guarantee that the product will maintain the same adhesion performance. If any defects are found, please contact the sales team immediately.
Recommended Adhesive Types
For installing Golhem wall decorative materials on concrete wall surfaces for both interior and exterior applications, Jorakhe Cement Gold adhesive is always recommended as the primary choice.
For the Travertine Series, 3M PU 525 Construction and MD-MS 101 Hybrid Modified Silicone Sealant distributed by Mat Dept Co., Ltd. may be used when necessary.
For interior installations on MDF/HDF plywood surfaces, rubber adhesive and tile adhesive can also be used. However, the use of other PU (polyurethane) adhesives, construction adhesive, and sealants outside of the recommended products is not advised.
These adhesives may have a risk of plasticizer migration, which can cause the adhesive components to seep through and leave visible marks or stains on the surface of the sheet.
| PU Adhesive Application Limitation PU adhesive can only be used for products with an average thickness of 3 mm, with a consistent thickness throughout the entire sheet (Travertine Series only). If PU adhesive is required for other product series, please contact the sales team for further information and recommendations. |
Recommended Adhesive Types by Application and Installation Surface
| Product Series | Application Type | Installation Surface | Recommended Adhesive |
|---|---|---|---|
| Standard Series | Interior Applications | Concrete Walls / Plywood / MDF/HDF | Jorakhae Gold Cement Adhesive / Rubber Adhesive / Tile Adhesive |
| Standard Series | Exterior Applications | Concrete Wall | Jorakhae Gold Cement Adhesive |
Estimated Tile Adhesive Consumption Calculation
A 20 kg bag of tile adhesive can cover approximately 6 square meters (sqm) of installation area.
Estimated Jorakhae Gold Adhesive Cost Calculation
A 20 kg bag of Jorakhae Gold adhesive costs approximately 850 THB per bag, with an estimated average cost of 142 THB per square meter (sqm).
Adhesive Application Method
Jorakhae Gold Cement Adhesive Application Method
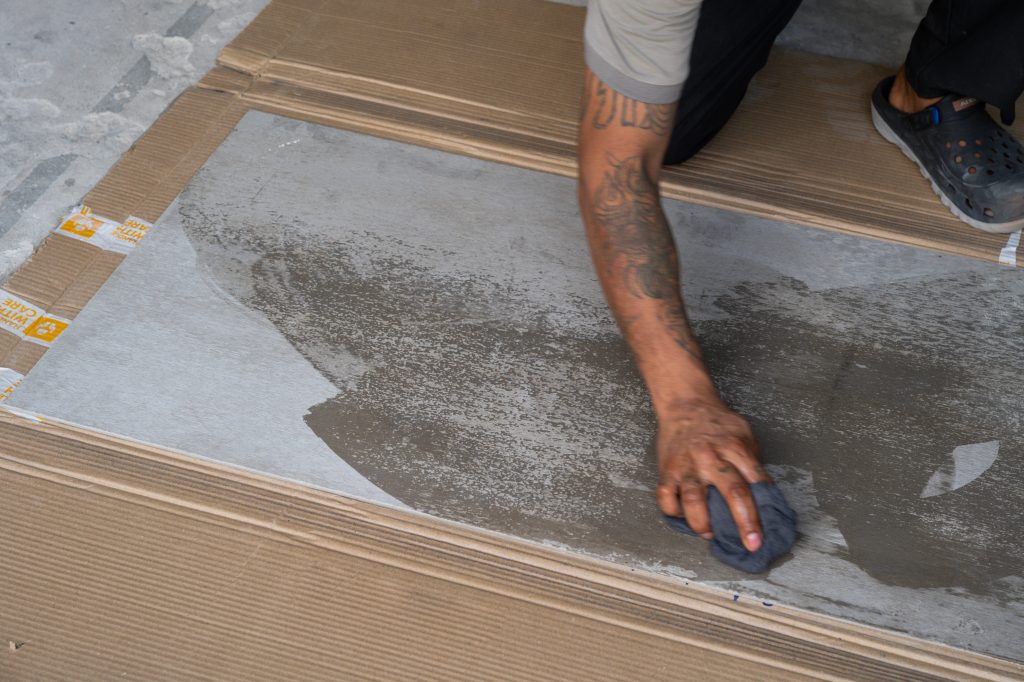
Start by cleaning the material surface to remove dust and dirt. Then, mix Jorakhae Gold cement adhesive according to the ratio specified on the packaging until the adhesive achieves a consistent texture.
Use a notched trowel to spread the adhesive in uniform, parallel lines in the same direction, maintaining an adhesive thickness of 4–6 mm.
For large-format sheets or outdoor installations, it is recommended to apply adhesive on both the wall surface and the back of the sheet (Double Spread) to enhance bonding strength.
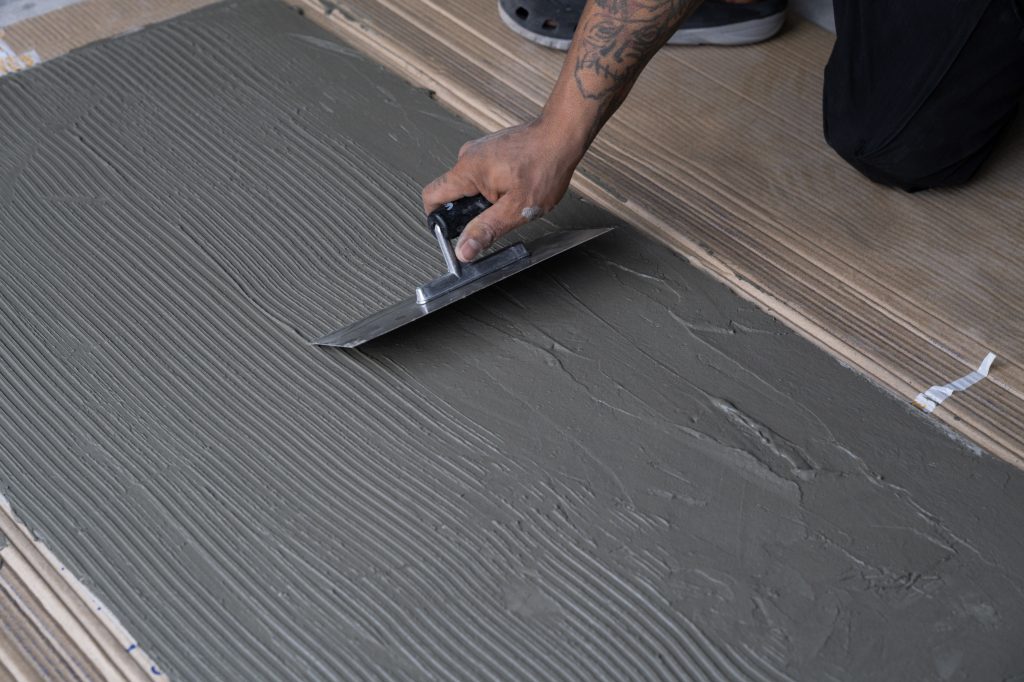
Press the material sheet firmly against the wall with even pressure. Use a rubber trowel or rubber mallet to gently tap the surface to remove trapped air and adjust the level.
Clean any excess adhesive with a damp sponge before the adhesive dries. Allow the adhesive to set for at least 24 hours before exposing the installation to water.
For the Travertine Series only, PU polyurethane adhesive may be used for both interior and exterior installations.
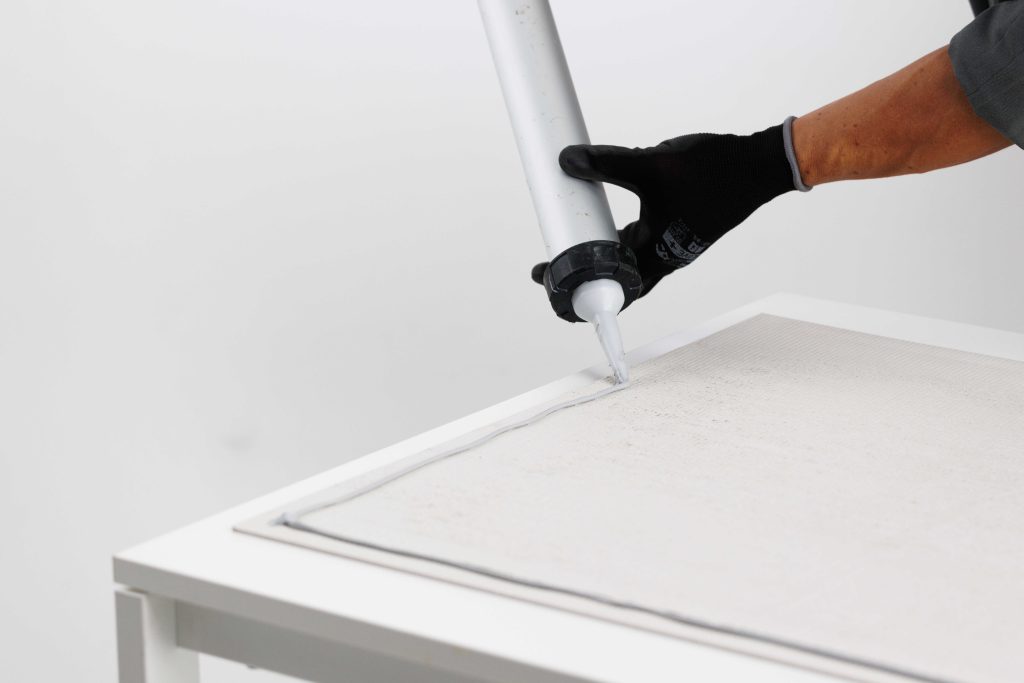
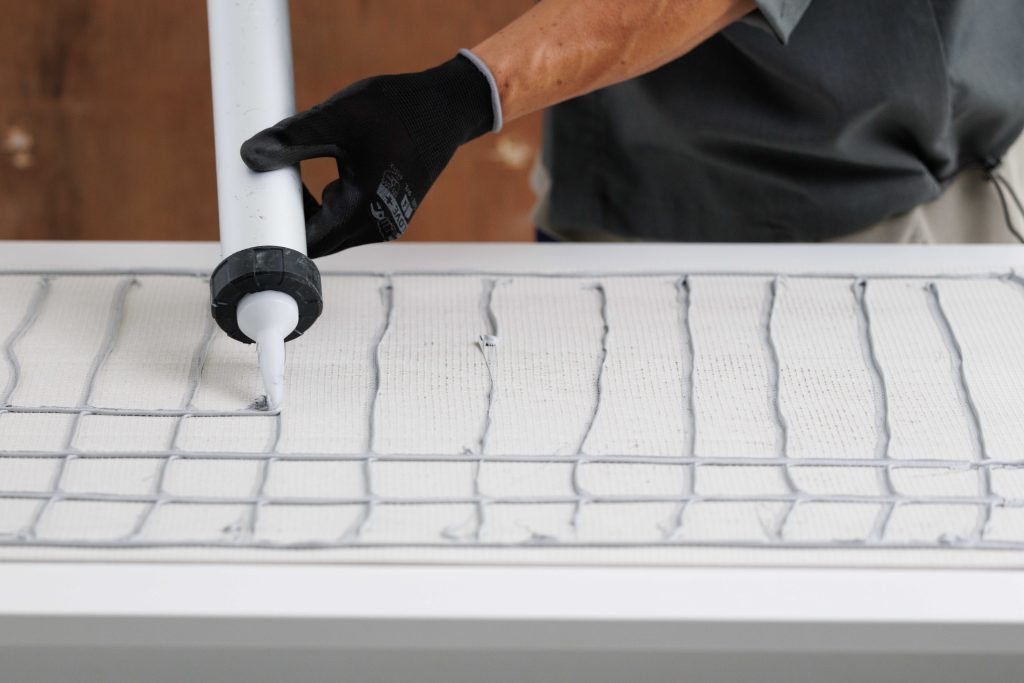
Apply the PU adhesive to the back of the panel along the perimeter, keeping a small gap from the edges to prevent adhesive from squeezing out when the panel is pressed into place. Then apply the adhesive in a grid pattern, with no more than 10 cm between each line.
The adhesive lines should be applied at sufficient frequency and thickness to ensure even distribution when the panel is pressed against the wall, helping to distribute the bonding force evenly across the entire panel.
| Precautions During Installation • Do not apply excessive adhesive that causes it to overflow from the edges of the material. • Do not use adhesives that are not suitable for exterior conditions when installing in outdoor areas. • Adhesion testing should be performed on the actual installation surface before starting the project to ensure proper bonding performance. |
Joint Spacing
Joint Spacing Between Material Sheets
The spacing between material sheets affects the overall neatness of the installation, accommodates material expansion, and supports the desired design appearance, especially in cases where visible joints are part of the design concept.
The appropriate joint spacing should be considered based on the type of sheet surface, material characteristics, and the selected joint finishing method.
General Guidelines for Smooth Surface Series (e.g., Marble, Travertine)
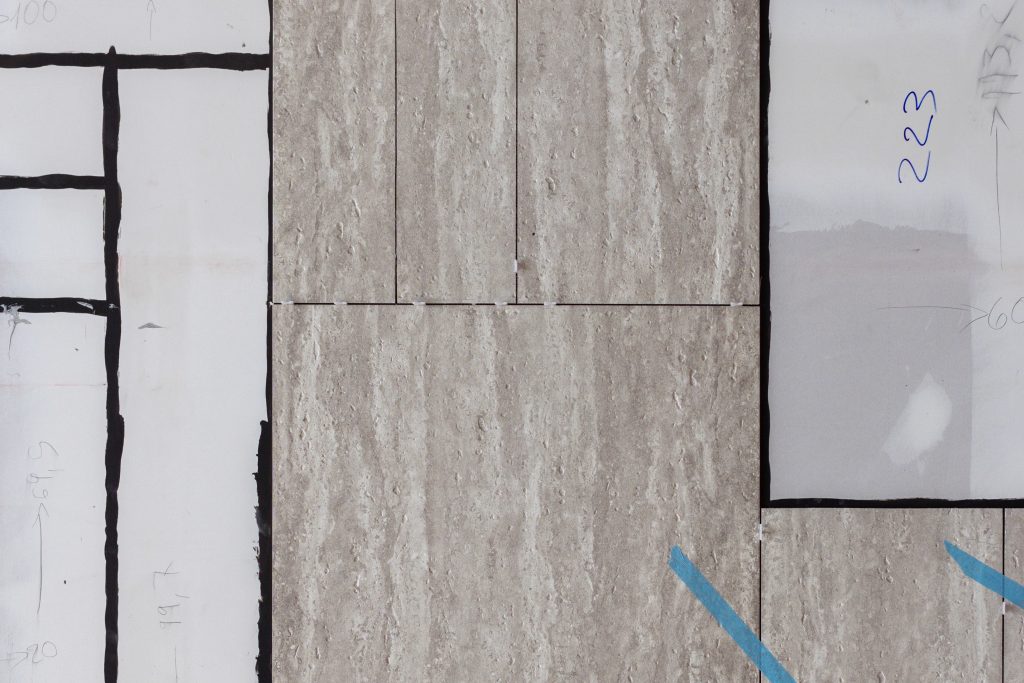
To accommodate sheet size tolerances (approximately ±1–2 mm), it is recommended to maintain a minimum joint gap of 1.5–2.0 mm between sheets. This allows for easier alignment during installation and helps achieve a neat and consistent finished appearance.
Joint Finishing
• Finish the joints using grout in the same manner as tile installations.
• Use grout colors that are close to the material sheet color for a seamless appearance.
• Apply protective tape along the sheet edges, such as masking tape or painter’s tape, before applying grout.
• If grout stains the surface, clean it immediately with a damp cloth.
For Visible Joint Design with Grout Finishing
If the design intention is to emphasize visible joints with grout finishing, a joint gap of approximately 3–4 mm is recommended to provide sufficient space for grout application while minimizing the risk of staining the sheet edges.
The joint width can be increased beyond 4 mm depending on the desired design style, visual effect, and the level of emphasis required for the joint lines.
For Textured Surface Series (e.g., Bushline, Infiniti)
Textured surface series can be installed with edge-to-edge joints without the need for joint gaps or grout finishing. The linear patterns and natural texture of the material help conceal the joints between sheets.
A no-grout installation creates a more continuous, seamless, and natural appearance across the surface.
| Recommendation For edge-to-edge installation, carefully check the sheet dimensions and cutting accuracy to ensure that the joints align properly and fit tightly. Accurate alignment and precise installation will help achieve a neat, consistent, and high-quality finished surface. |
Corner Installation
Corner Installation for Golhem Natural Formed Clay Wall Material
Golhem natural formed clay wall material can be installed at corners using a 90-degree edge-overlapping method. The sheet edges are overlapped to create a clean and continuous corner finish.
The exposed edge line at the corner can be refined by applying matching touch-up paint, similar to laminate finishing, depending on the desired appearance and project requirements.

90-Degree Corner Installation
| Recommendation For edge-overlapping corner installation, test-fit the sheet before applying adhesive to ensure it can align and fit tightly with the previously installed sheet. If the fit is not satisfactory, adjust the material edge by sanding with sandpaper to refine the surface before final installation. |
Edge Finishing
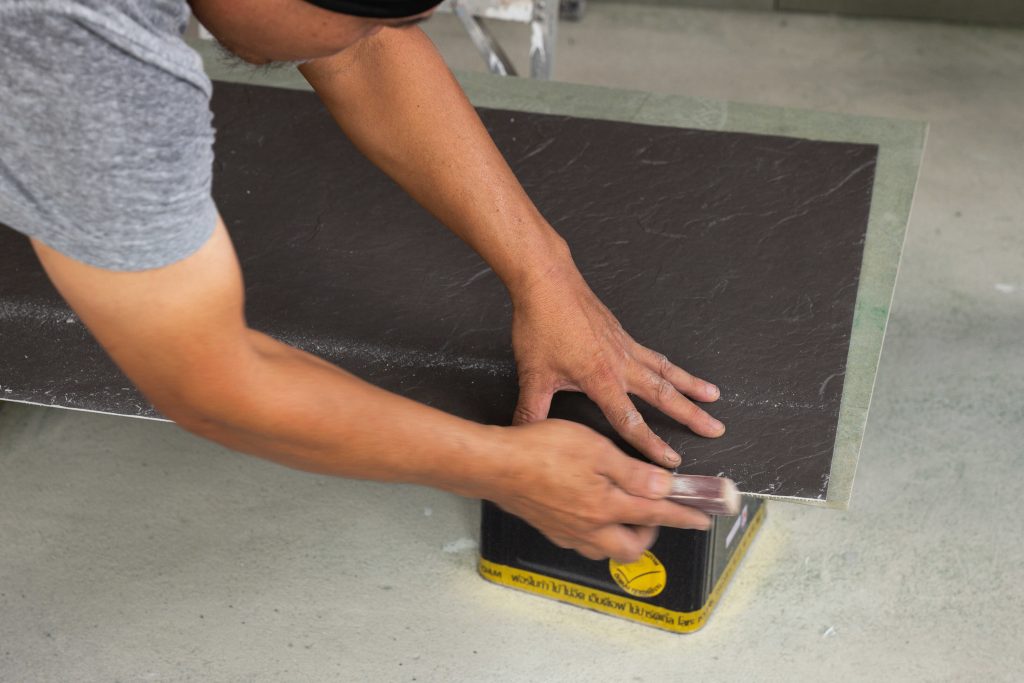
This step depends on the characteristics of the installation. However, if cutting imperfections occur, such as uneven edges or slightly oversized cuts, the edges can be refined by gently sanding with fine-grit sandpaper (No. 100) to adjust the size and achieve a proper fit.
Cleaning
After completing the installation, the surface should be cleaned to remove any adhesive residue or other dirt. Proper protection should also be provided to prevent damage during the remaining construction process.
The material surface can be cleaned using a soft cloth dampened with clean water or with commonly available surface cleaning solutions. Wipe and clean the surface as usual.
However, avoid using highly acidic cleaning products, such as sanitary ware chemicals, and avoid using brass brushes or abrasive tools that may damage the material surface.
Note: This guide provides general installation guidelines. Installation details and methods may vary depending on the installation area, substrate materials, and specific project requirements. For detailed recommendations specific to your project, please consult our sales representatives.