


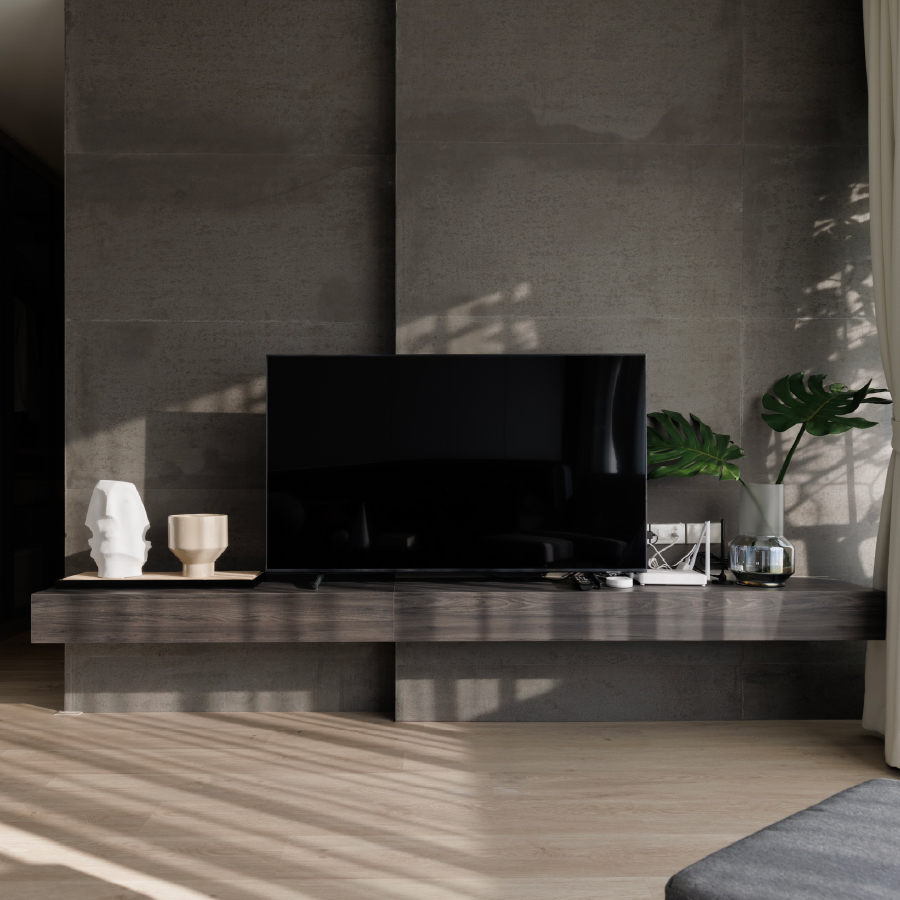
Preparation Before Installing Concreate®
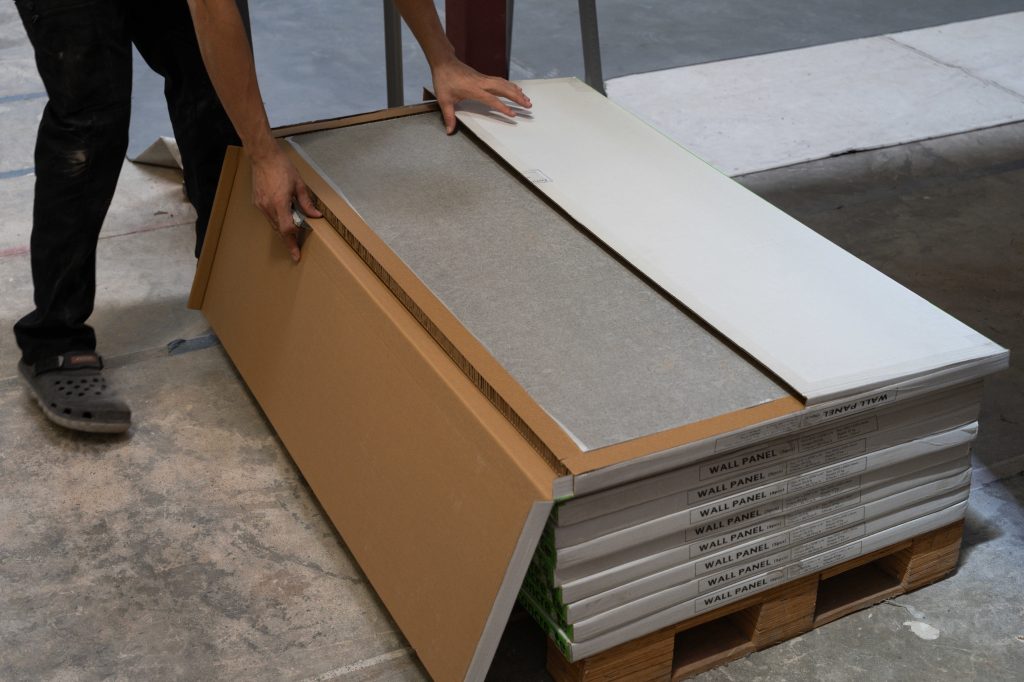
It is recommended to remove the panels from the packaging and allow them to rest in the installation area so the panels can acclimate to the actual temperature and humidity conditions.
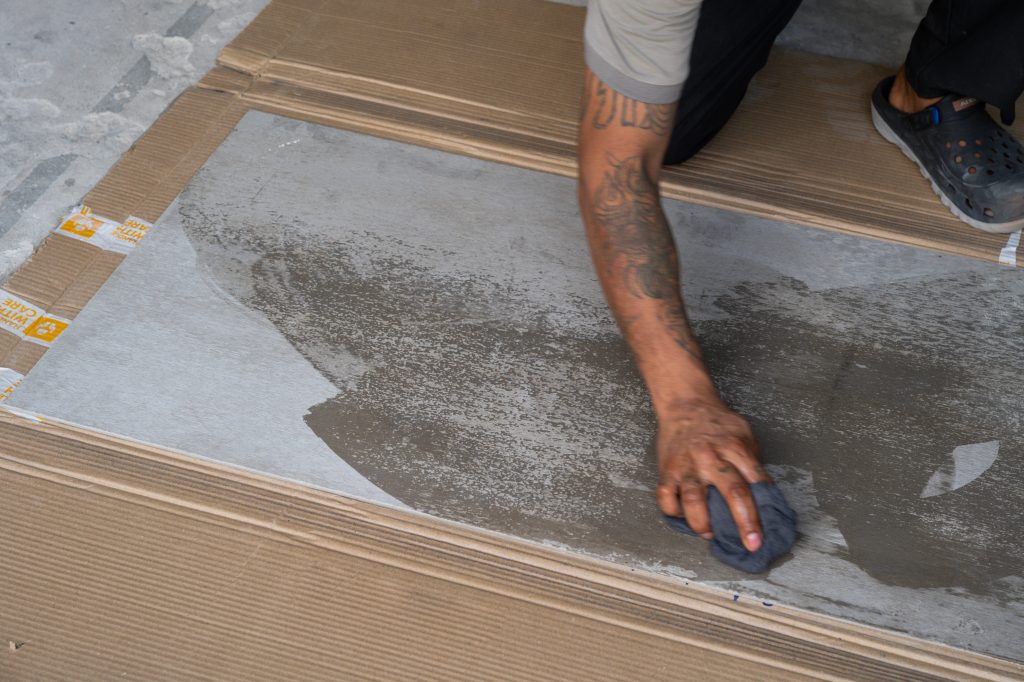
The installation surface must be dry, clean, and smooth, with no dust or residue that may reduce adhesive bonding performance.
Concreate® can be installed on various surfaces, including gypsum board, plywood, cement board, and concrete walls.
Planning Before Wall Installation
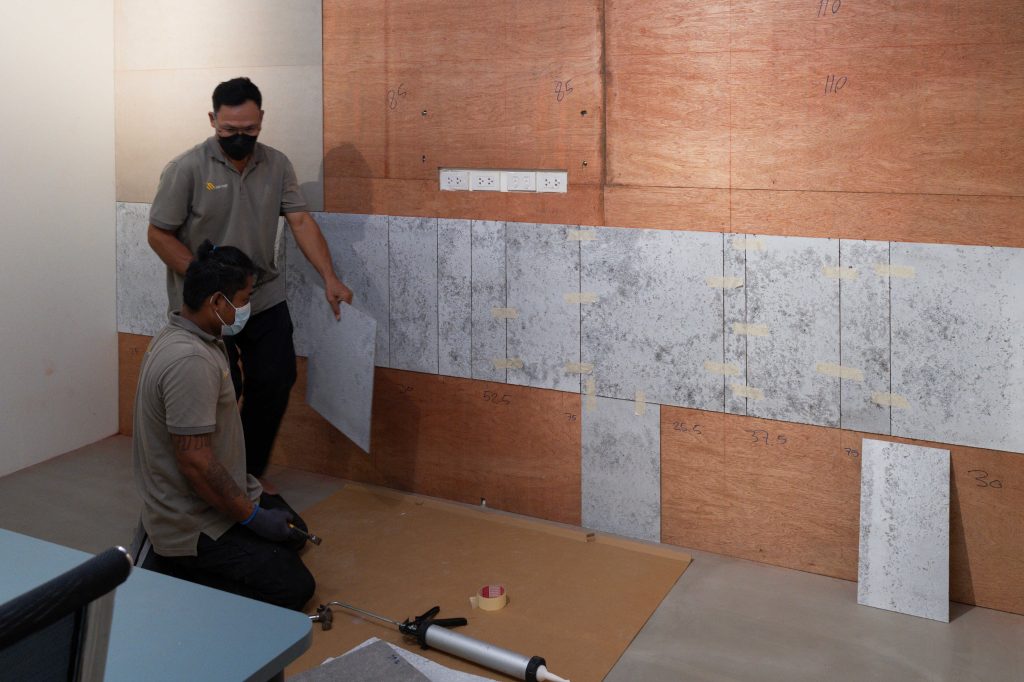
Since each panel has a unique surface texture and appearance, it is recommended to remove panels from multiple boxes and arrange them before the actual installation. This helps achieve a balanced distribution of color tones and surface variations across the entire area.
Avoid grouping panels with similar shades or patterns too closely together to maintain a natural and consistent overall appearance.
Cutting Concreate® Panels
Cutting Method for Concreate® Panels
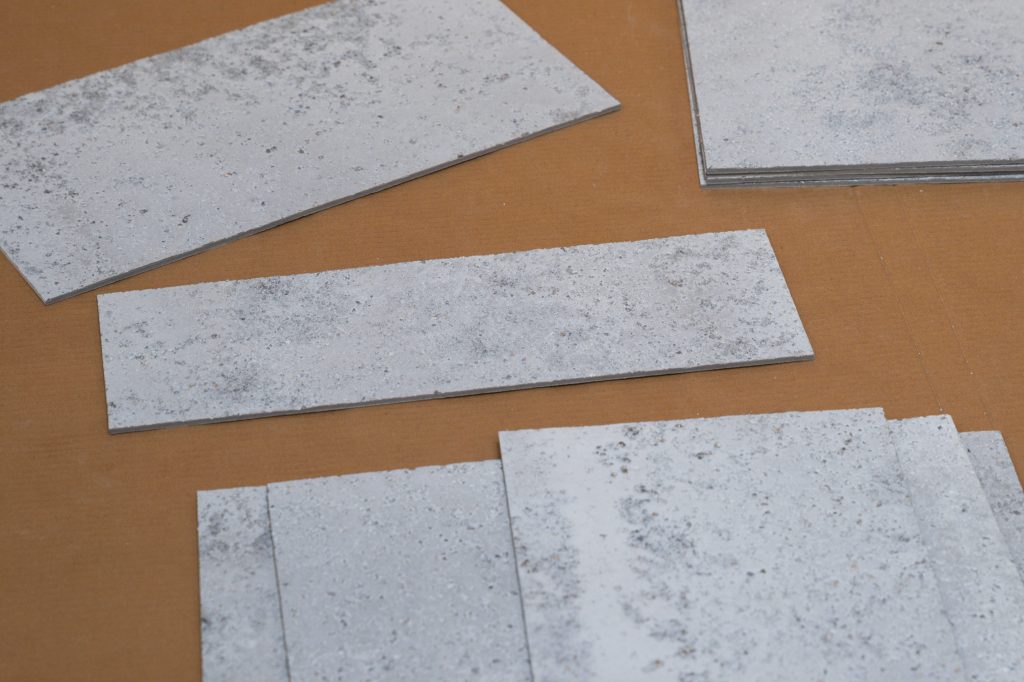
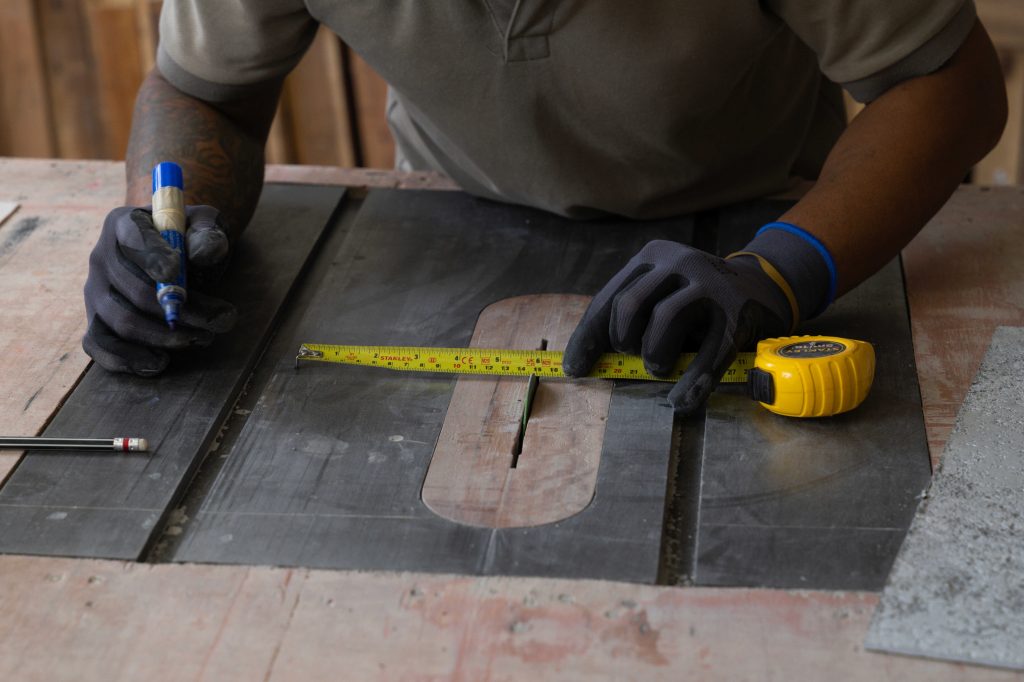
Concreate® panels can be cut using the score-and-snap method by scoring the surface with a utility knife along a straight line, approximately 2 mm deep. Then, place the scored line along the edge of a support surface and snap the panel along the marked line.
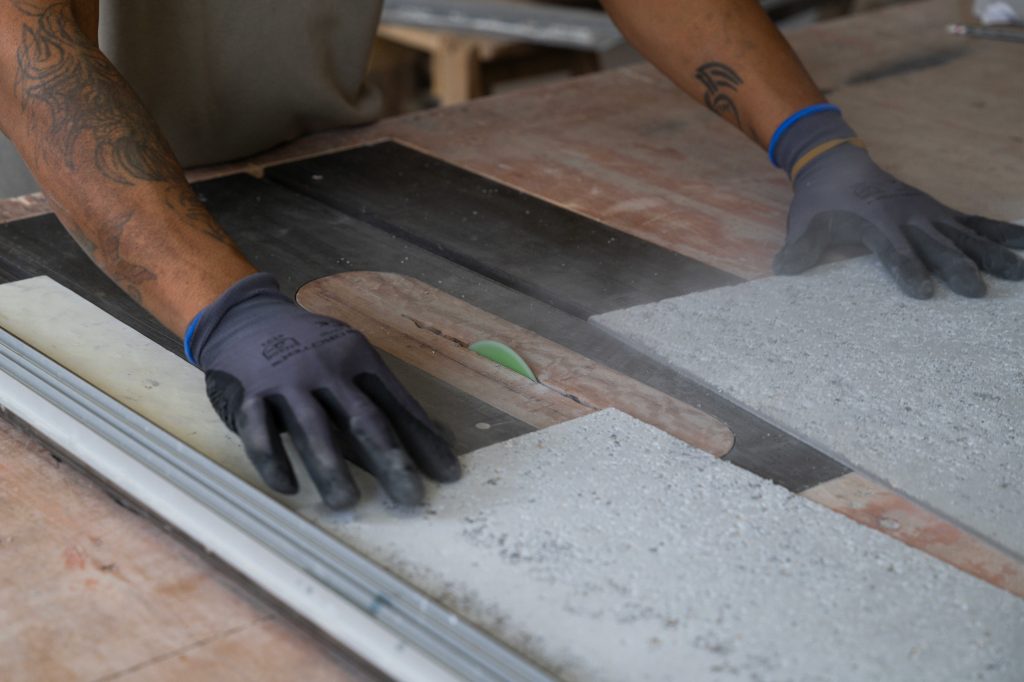
Alternatively, the panels can be cut similarly to general plywood using suitable power tools, such as a circular saw, table saw, angle grinder, or electric saw. It is recommended to use diamond cutting blades or blades specifically designed for cement-based materials to achieve clean edges and reduce blade wear.
For more complex shapes or curved cuts, a jigsaw can be used.
Edge Finishing After Cutting
This step should only be performed when necessary, such as when the cut edge is uneven or slightly oversized. Use No. 100 sandpaper to gently sand along the edge to smooth and refine the surface, making it ready for installation.
If the cut edge is already smooth and even, the panel can be installed immediately without additional finishing.
Fixing and Adhesion of Concreate® Panels
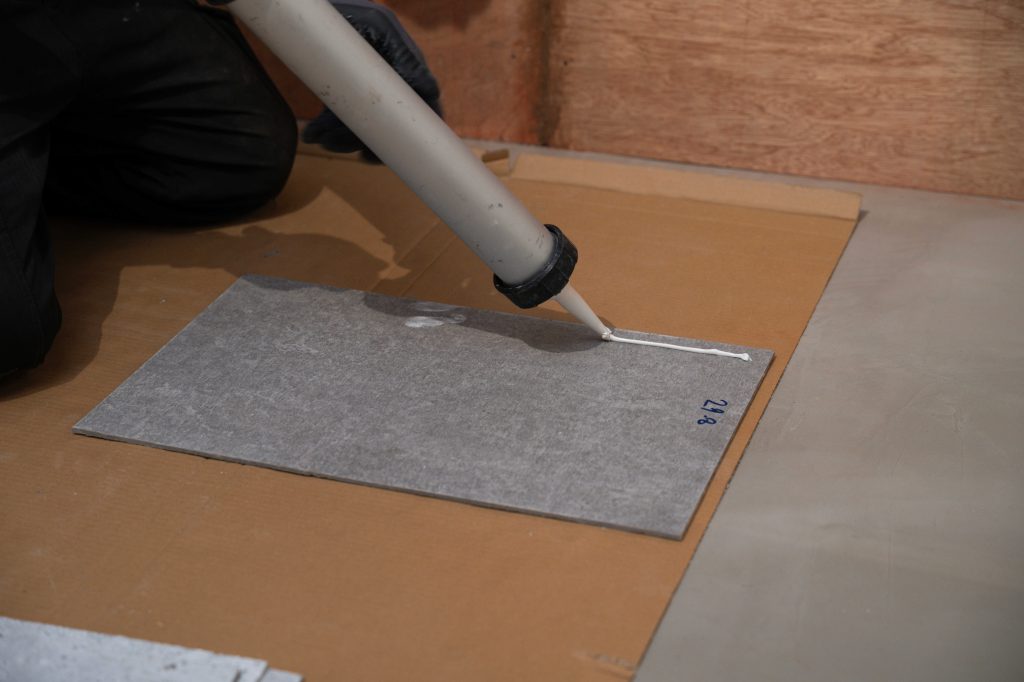
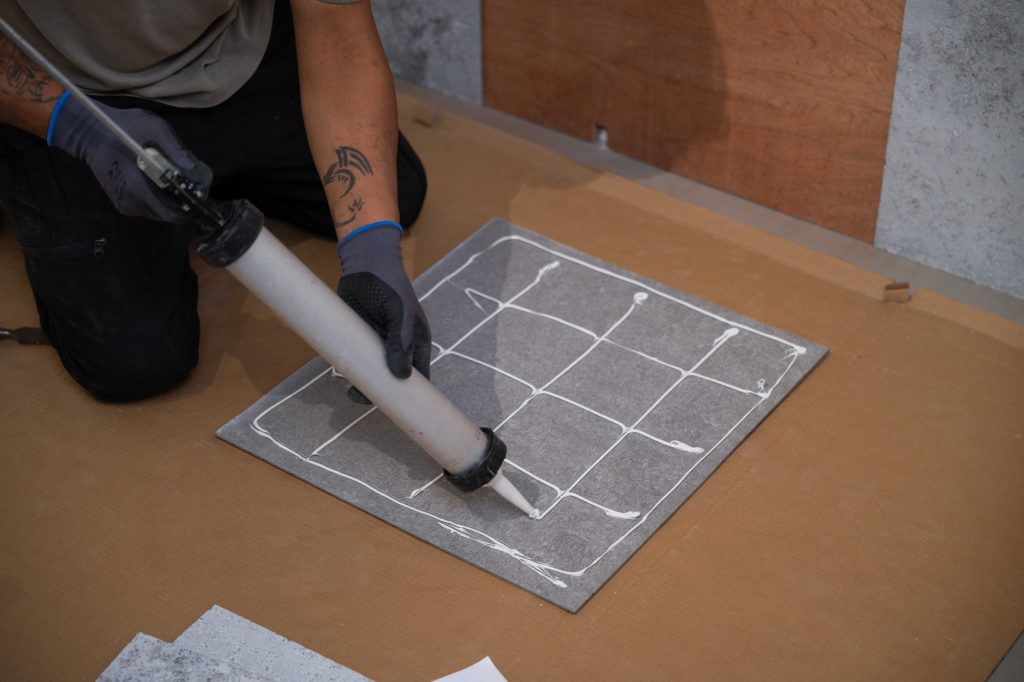
Using 3M PU 525 Construction Adhesive or MD-MS 101 Hybrid Silicone
Apply adhesive along all four edges of the panel. Then, apply additional adhesive lines in a grid pattern across the back of the panel, with spacing between adhesive lines not exceeding 10 cm. This helps distribute the bonding force evenly across the entire panel and reduces the risk of long-term deformation.
Press the panel firmly against the installation surface and check the alignment and level of each panel. If necessary, a rubber mallet can be used to gently adjust the panel position.
Using Jorakathong Cement Adhesive
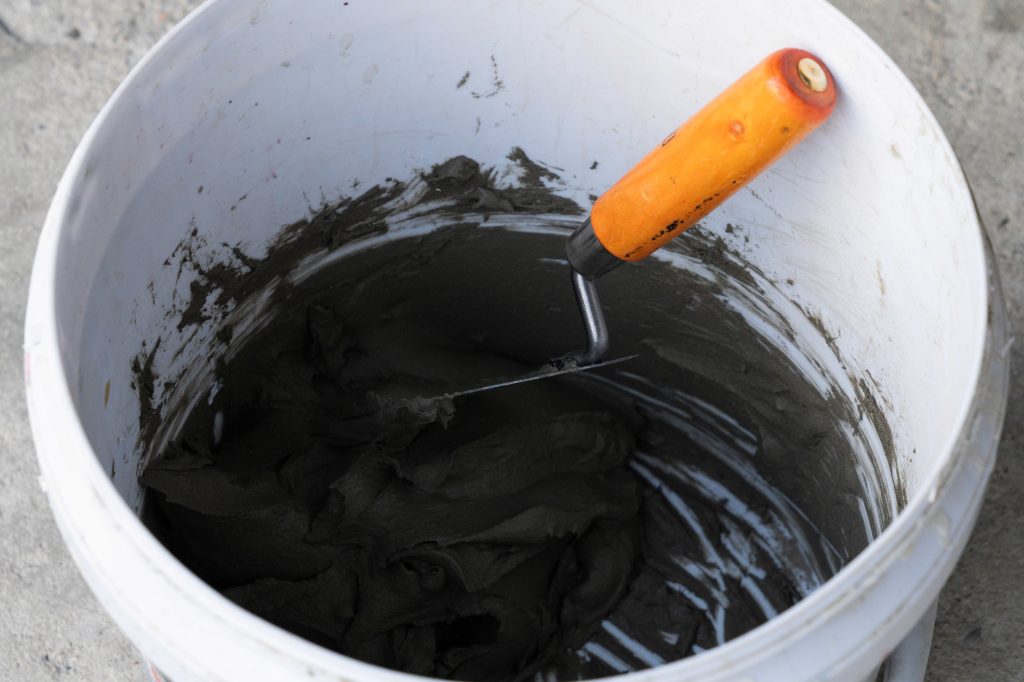
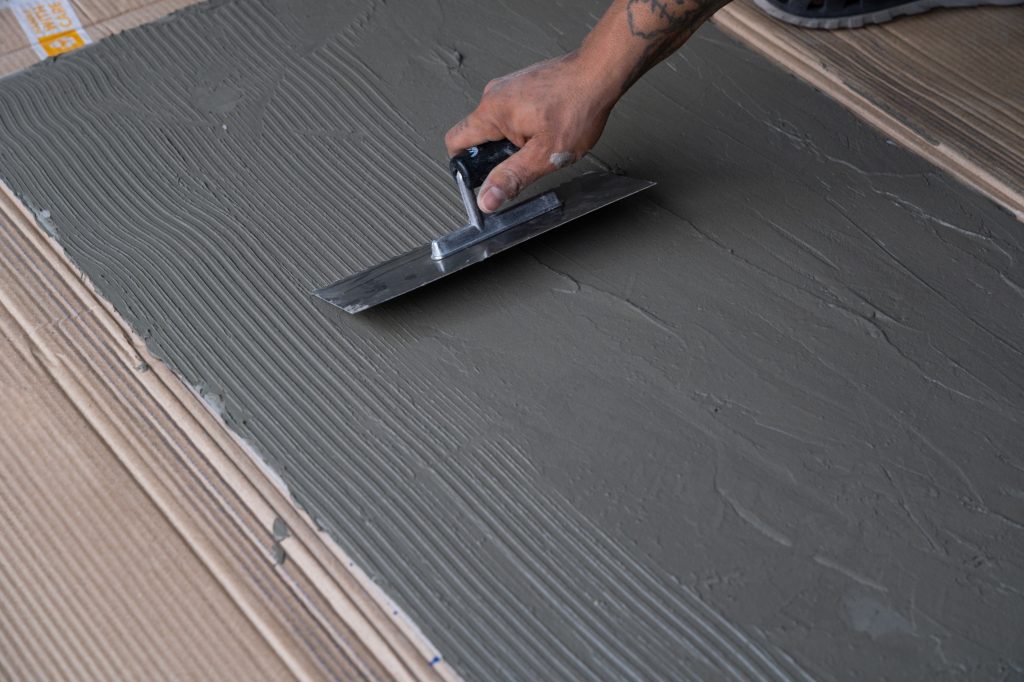
As an alternative installation method, Jorakathong Cement Adhesive can be used. Apply the adhesive evenly in parallel lines in the same direction using a notched trowel, with a total adhesive layer thickness of approximately 10 mm.
This ensures effective bonding strength and provides full adhesive coverage across the back surface of the panel.
| Precautions Do not apply adhesive tape directly onto the surface of Concreate® panels under any circumstances, as this may damage the surface and will not be covered under the warranty conditions. If surface protection is required during construction work, apply tape only onto the protective covering material placed over the panel surface. |
Corner and Joint Finishing
The joints between panels should be installed using a butt joint method, where panels are placed directly against each other without the need for tile grout.
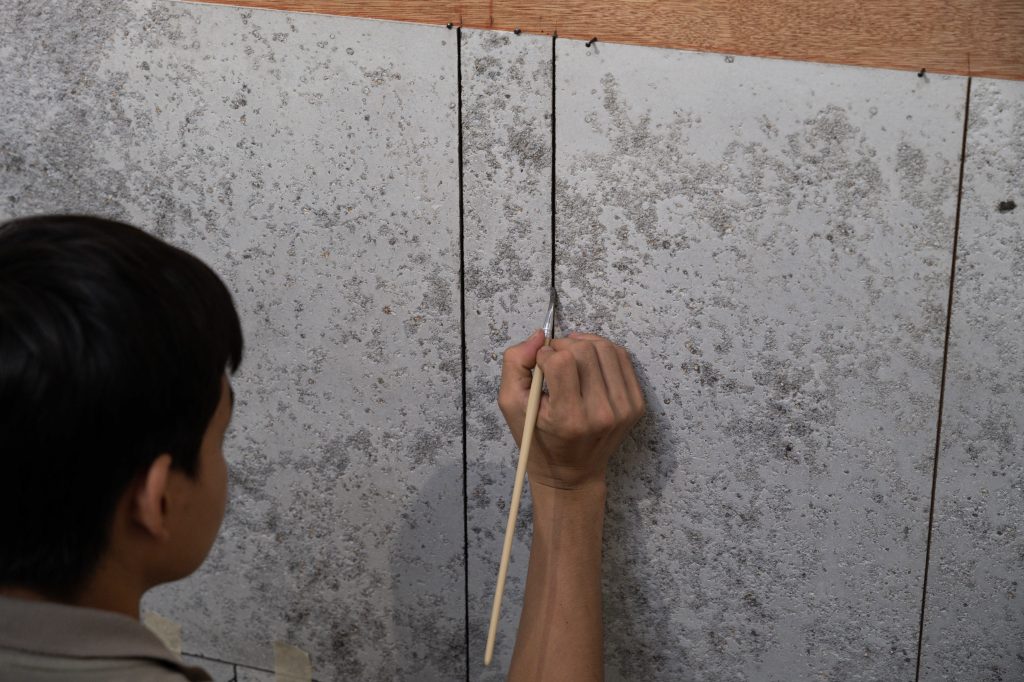
For additional finishing details, a small brush can be used to apply touch-up paint inside the joints as desired to achieve a neat and seamless appearance.
Corner and Joint Finishing
Corner Finishing Methods
There are two recommended corner finishing methods:
45-Degree Mitre Corner:
Cut the edges of the panels at a 45-degree angle and join them together to create a smooth, continuous corner. This method is suitable for applications requiring a high level of precision and refined detailing.
90-Degree Overlapping Corner:
Cover one panel edge with another panel in a similar manner to general surface cladding applications. This method is easier and faster to install.
Both methods allow edge sanding and color touch-up to refine the corner details and achieve a clean, finished appearance.
Note: This guide provides general installation guidelines. Installation details and methods may vary depending on the installation area, substrate materials, and specific project requirements. For detailed recommendations specific to your project, please consult our sales representatives.